You operate the PiDP-11 by it’s console toggle switches. You can even write programs by using the toggle switches and you can also boot real PDP-11 Operating Systems like RSX-11M Plus, 2.11 BSD, RT-11, RSTS/E, DOS-11, Unix V5, 6 or 7 and then some.
For me the main attraction are the blinking leds to brighten up my office, so I ordered a kit by Oscar.
You have to build it yourself and the amount of leds (64) and switches (30) and diodes is a bit overwhelming but after watching some instruction videos and reading the build instructions it was not to difficult.
This is not a “how to build post” (for that you better look here) but merely a tribute to the work of Oscar.
However, I will show you some pictures of my build-process.
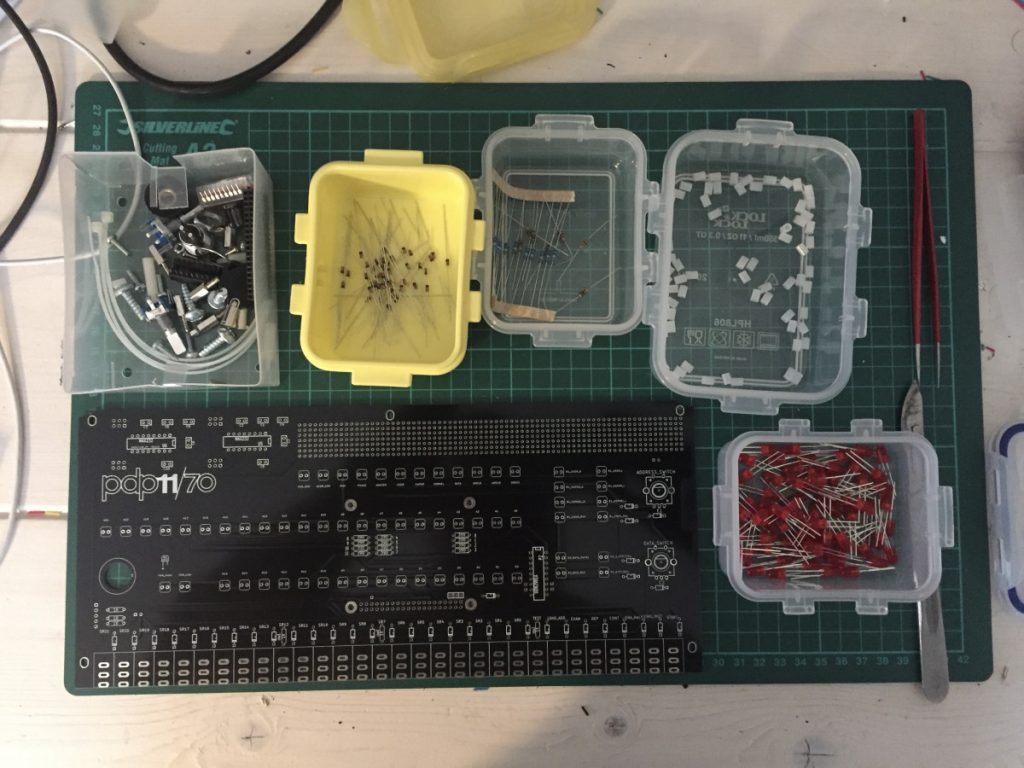
These are the parts you get in the kit:
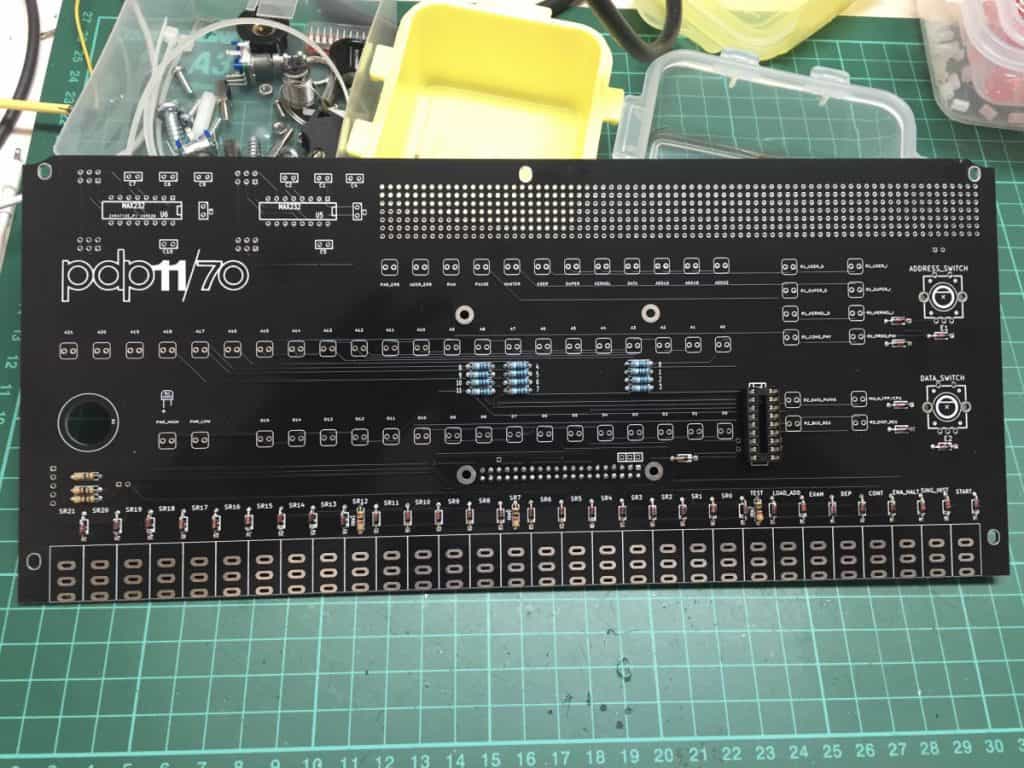
As with every electronics kit you start with the lowest parts first, which in this case are the diodes (37) and the resistors (18).
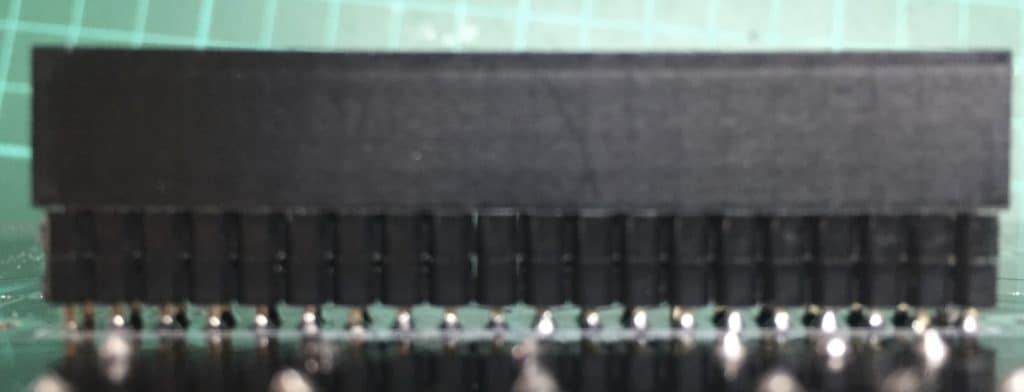
I elevated the Raspberry PI GPIO connector a bit from the PCB so the USB and Ethernet connector of the RPi are a bit further away from the PCB.
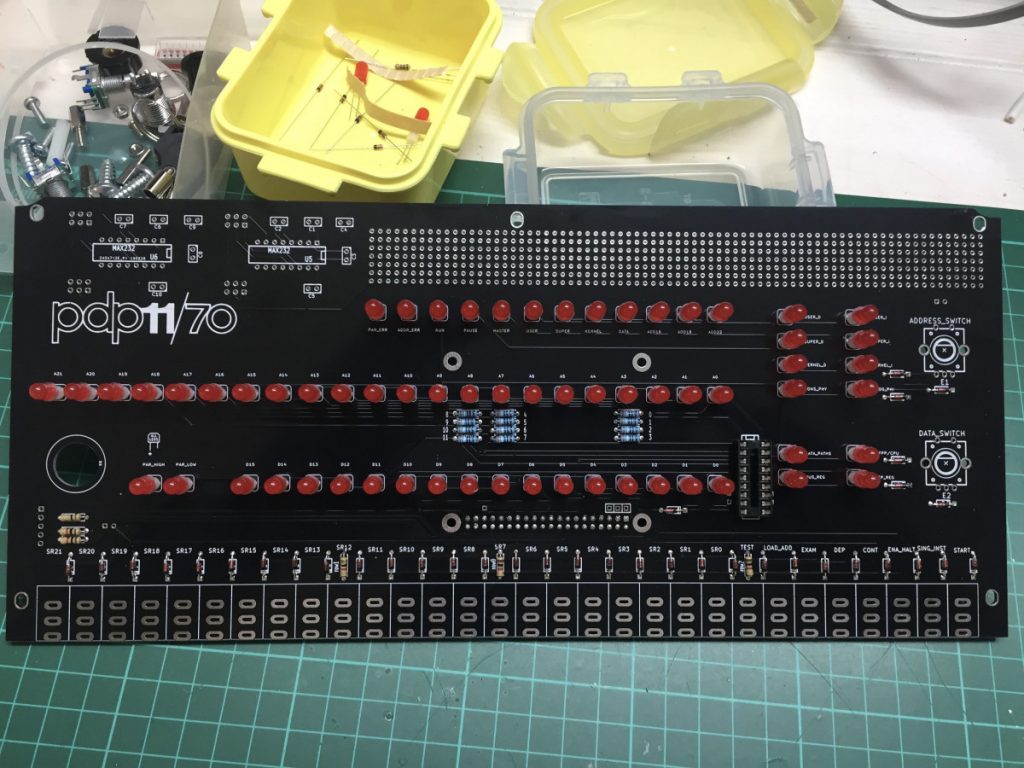
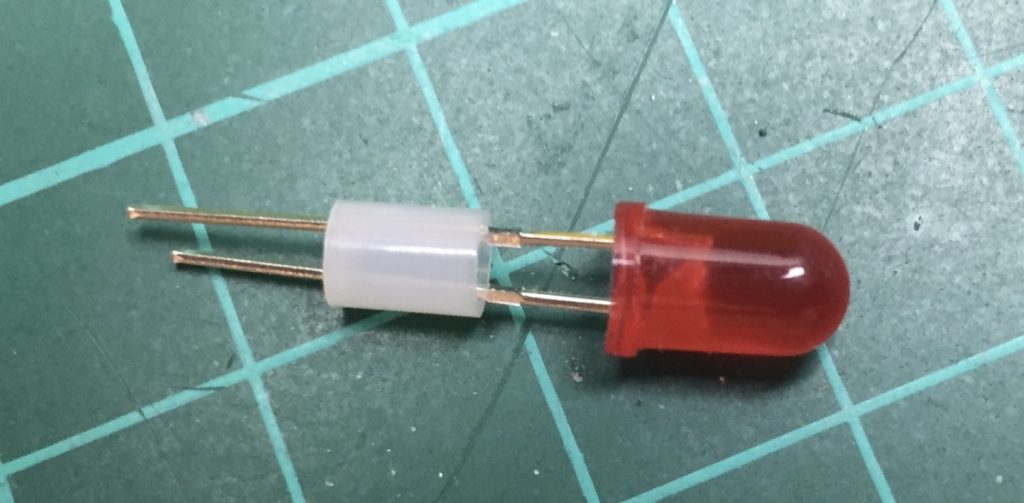
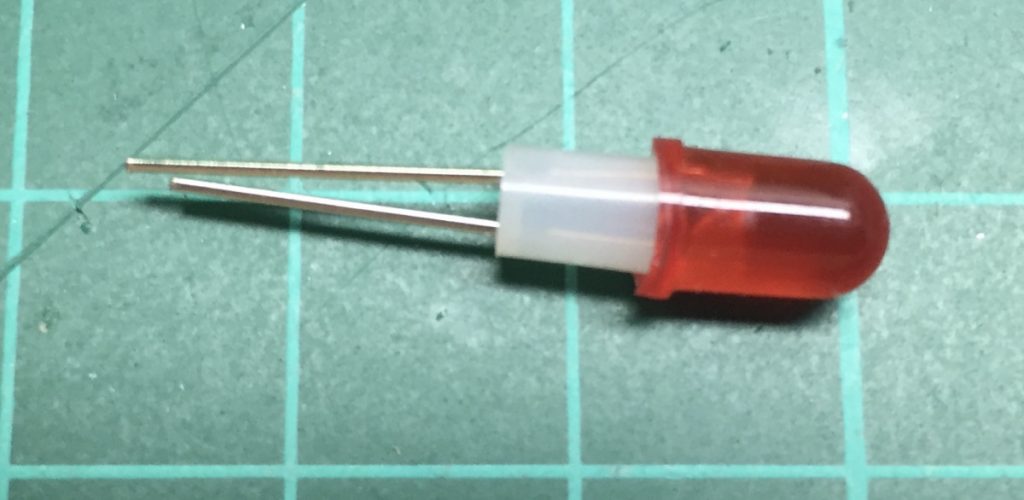
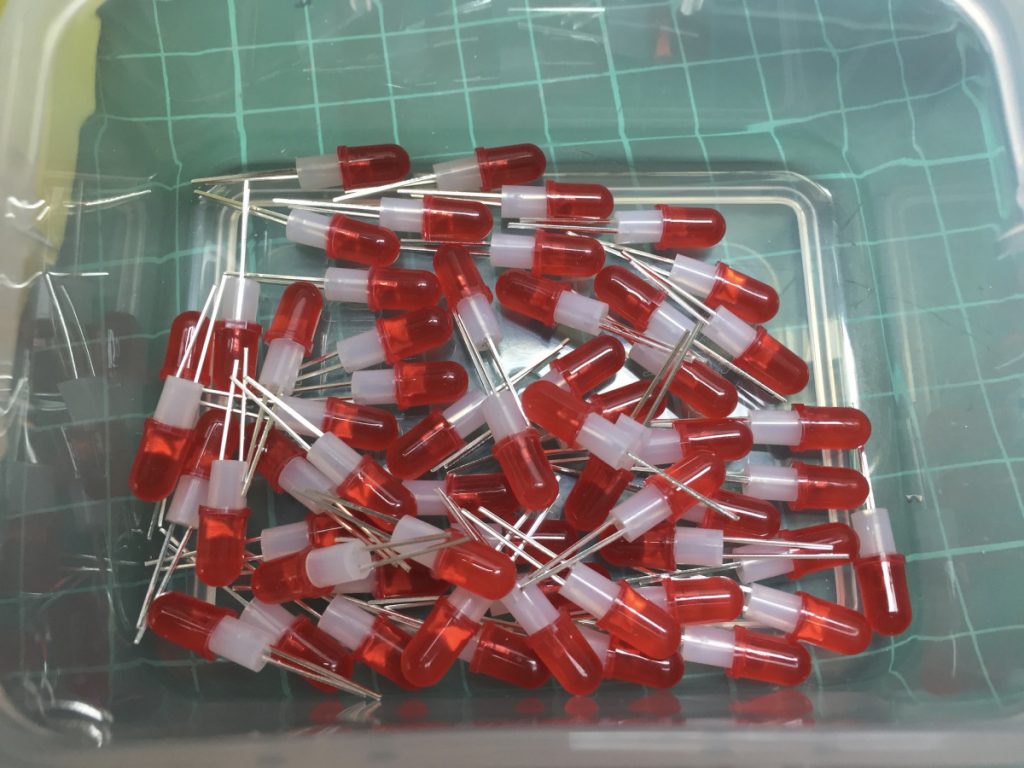
Next you have to slide the 64 leds into a spacer:
and put them all into the PCB.
The switches take a bit of a fiddling but the instructions and special “tools” provided with the kit help a lot.
My PiDP-11 now sit’s blinking on a shelf in my bookcase running the BSD 2.11 operating system and serving my music collection.

 Follow
Great article about the work of Oscar!
Did you publish your updates to the KIM Uno firmware?
Hi Hans,
I mailed the updates to Oscar but at the time he was occupied with other, more important, things so I don’t think he has done much with it.
If you are interested, I have just pushed it to github.