[ 15 keer bekeken / views ]
When I wrote about the TFT-LCD-Display-EC11 and its Piggyback Board, I mentioned that you could use them to build an internet radio. This post describes the radio I built around that board. Choosing a station and adjusting the volume sounds simple enough.
Hier kun je een Nederlandse vertaling van deze post vinden
The challenge is that the board gives you just a rotary encoder with a built-in push switch and one separate button. How do you make the equalizer and settings easy to reach with so few controls?
A second challenge appeared once the radio was playing. Some stations deliver their audio unevenly. The firmware has to decide whether there is enough audio left in the buffer to keep playing or whether it is time to reconnect.
The Hardware
The TFT Display, the EC11 Rotary Encoder, and the Piggyback Board
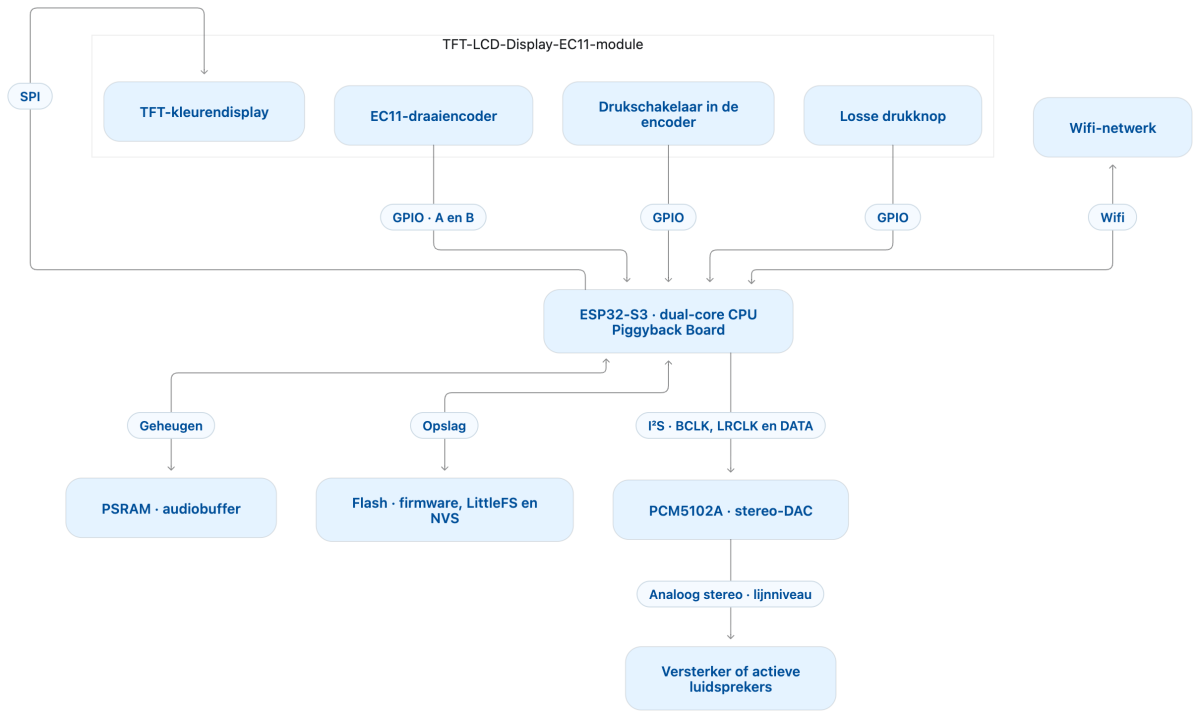
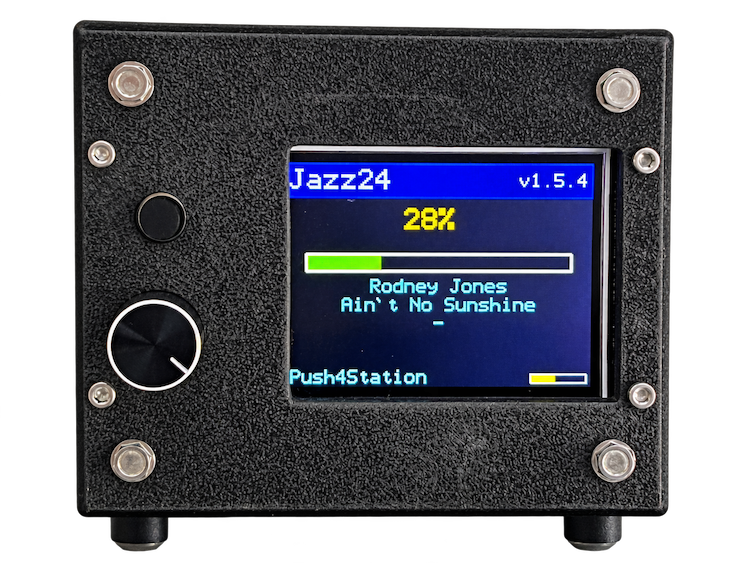
The ESP32-S3 Piggyback Board sits directly behind the display. The display shows the selected station, the volume, and, when the station sends that information, the track currently playing. You can turn or press the EC11 rotary encoder. Together with the separate button, that gives you enough ways to control the radio from the front panel.
From I²S to Analog Audio with the PCM5102A
The ESP32-S3 sends digital audio over I²S to a PCM5102A. This digital-to-analog converter (DAC) produces an analog stereo signal that you can feed into an amplifier or powered speakers.
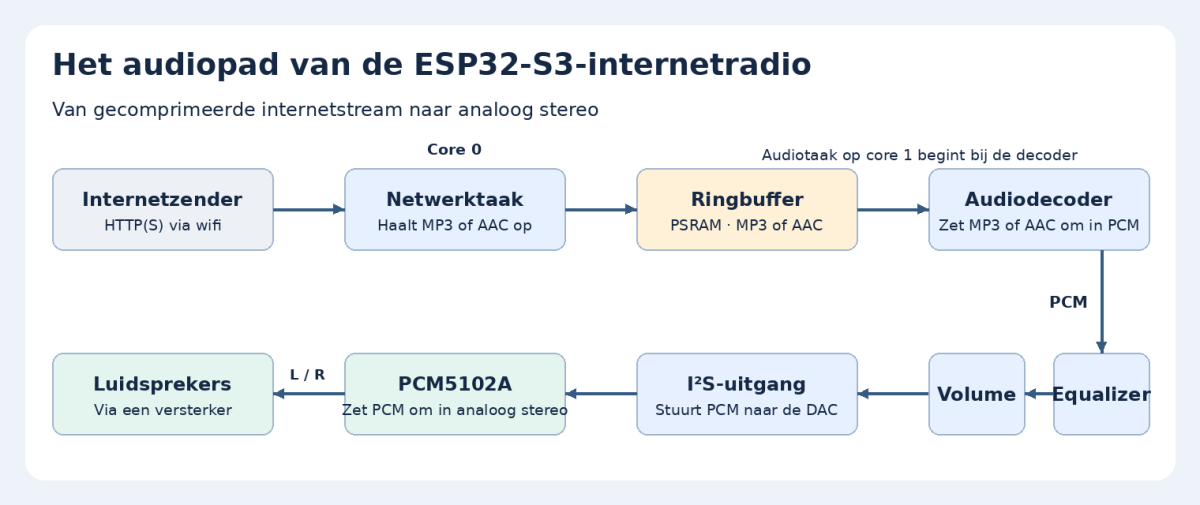
The firmware applies the equalizer and volume settings before the signal reaches the DAC.
Using the Radio
Volume, Station Selection, and the Three-Band Equalizer
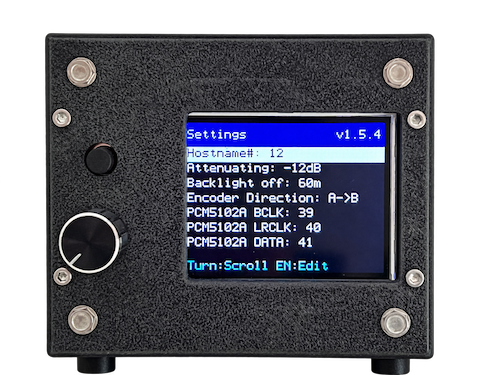
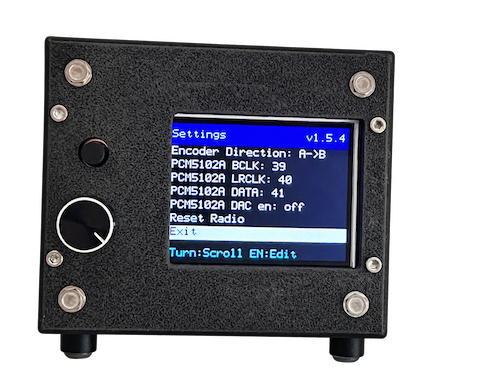
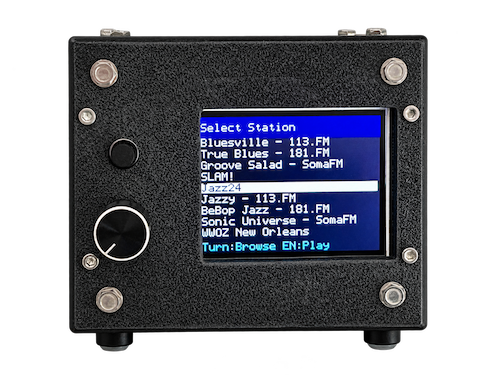
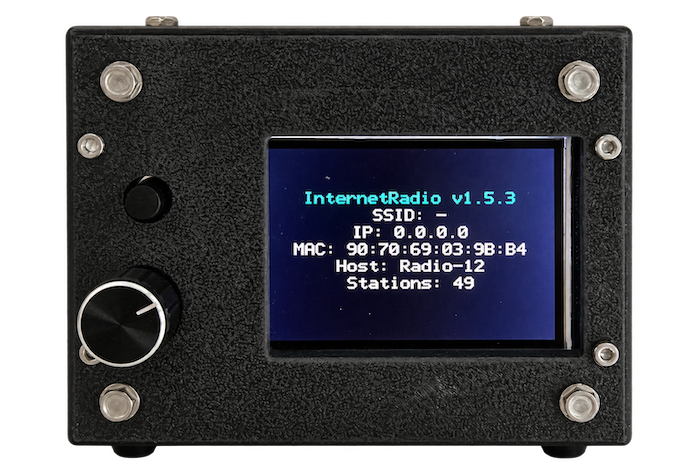
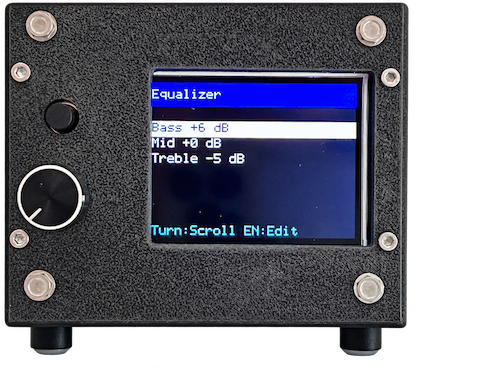
Turn the knob to adjust the volume while listening. Press it briefly to open the station list. Turn the knob to highlight another station, then press it again to start playing that station. Press and hold the knob to open the equalizer and adjust the bass, midrange, and treble. The separate button gives you access to the technical information and the settings menu.
Using the Display and the Browser
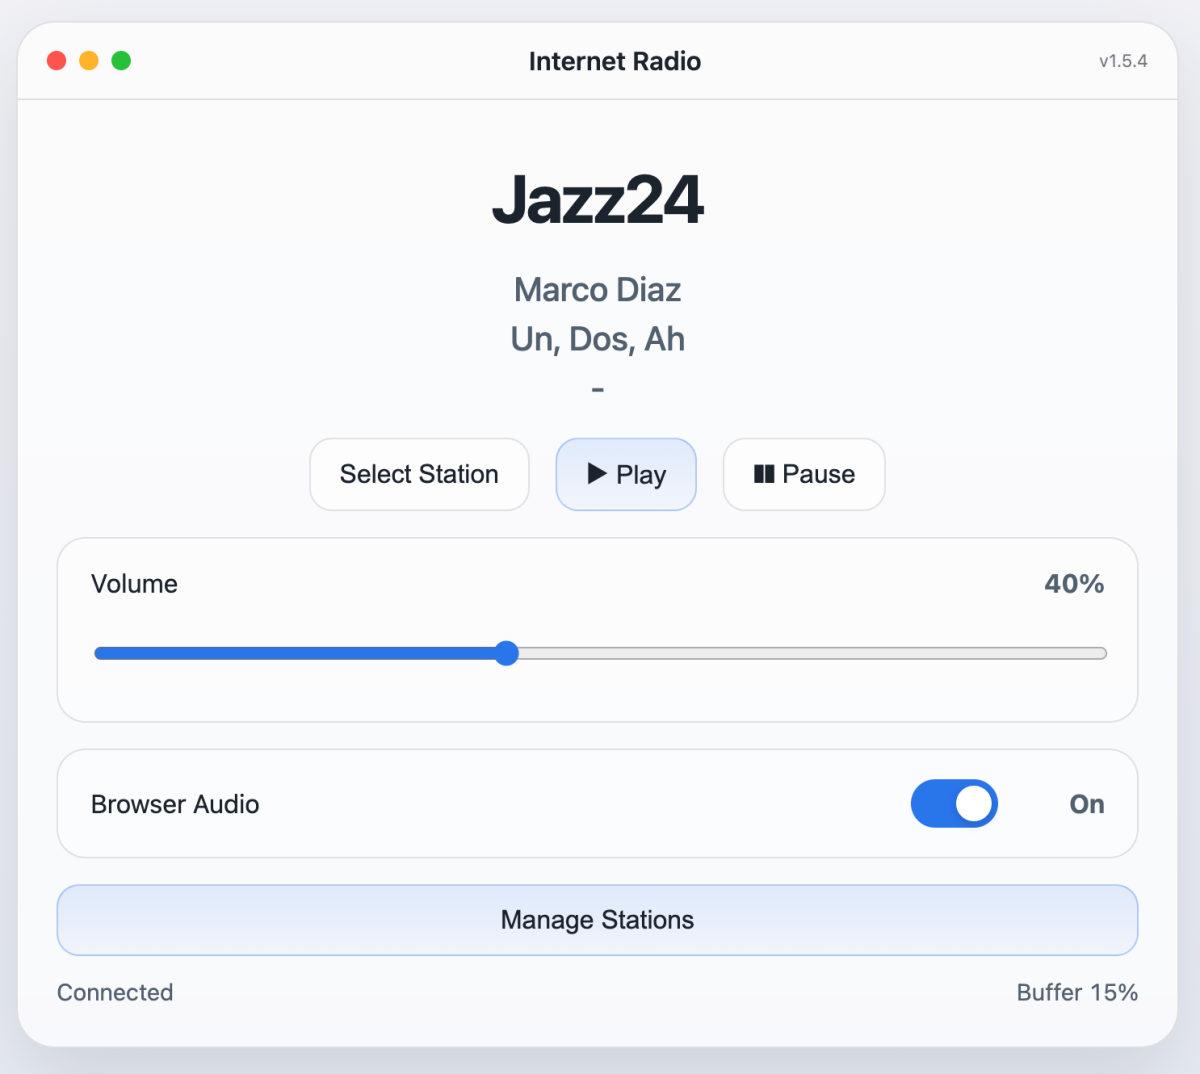
The radio has its own web interface, which you can open on your local network. You can see which station is playing, adjust the volume, or choose another station. This is especially handy when the radio is out of reach. The display and web interface stay in sync, and the web interface also lets you change a few additional settings.
Managing and Saving the Station List
You can add, edit, and remove stations in the web interface.
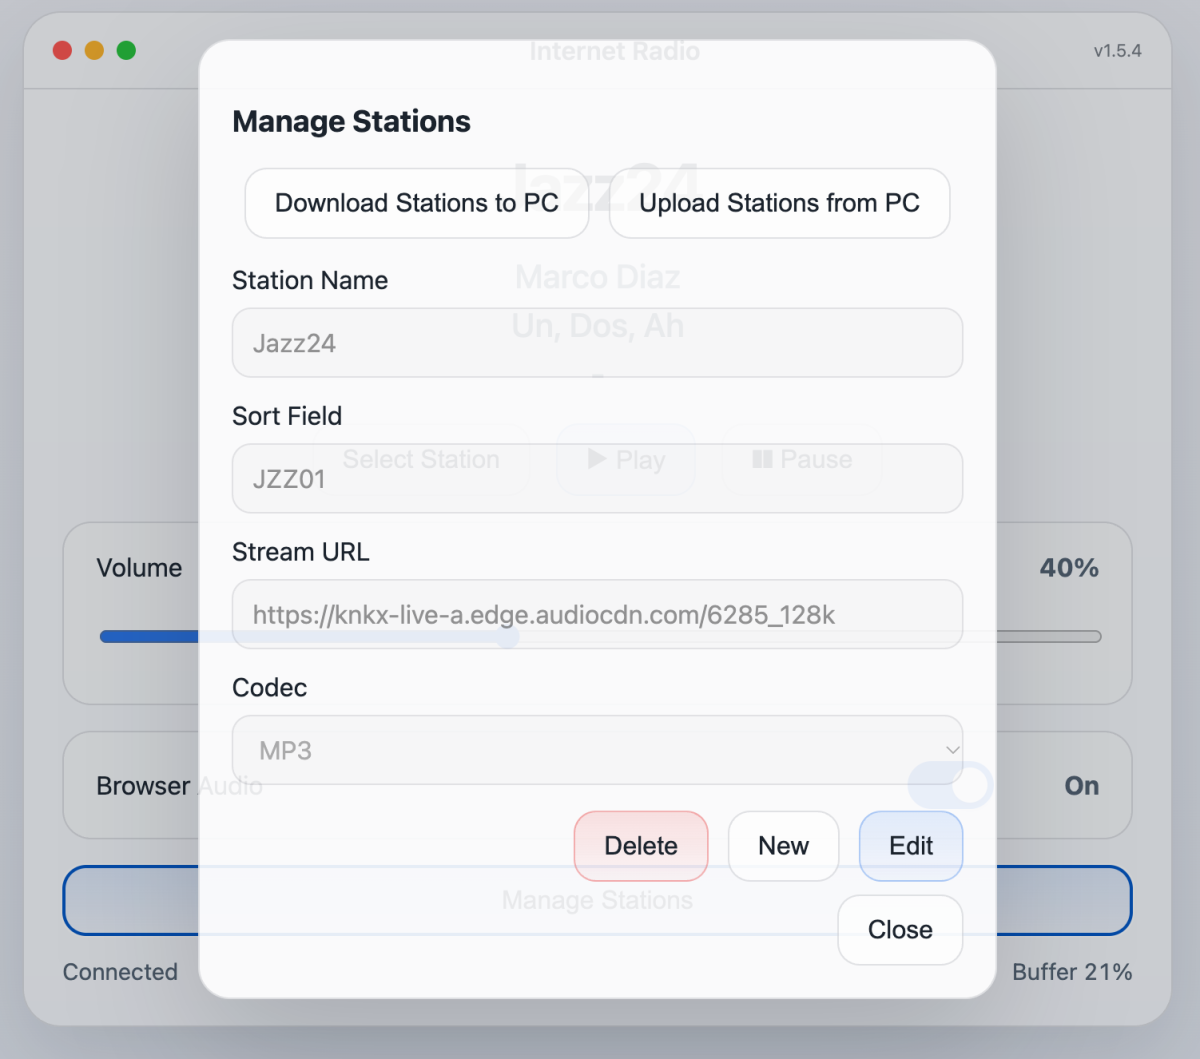
For each station, you enter details such as its name and the address of its audio stream. You can download the entire list to keep a backup or use the same stations on a second radio.
The radio stores the stations in a JSON file.
{
  "stations": [
    {
      "name": "Jazz24",
      "sortField": "JZZ01",
      "url": "https://knkx-live-a.edge.audiocdn.com/6285_128k",
      "codec": "mp3"
    },
    {
      "name": "Radio Swiss Jazz",
      "sortField": "JZZ",
      "url": "http://distribution.srg-ssr.ch/m/rsj/mp3_128",
      "codec": "mp3"
    }
  ]
}
The sortField controls the order of the stations on the radio. If a station keeps cutting out, the radio looks for another station whose sortField starts with the same letter. The recovery process is described below.
How the Firmware Is Organized
Separate Tasks for Networking, Audio, and Controls
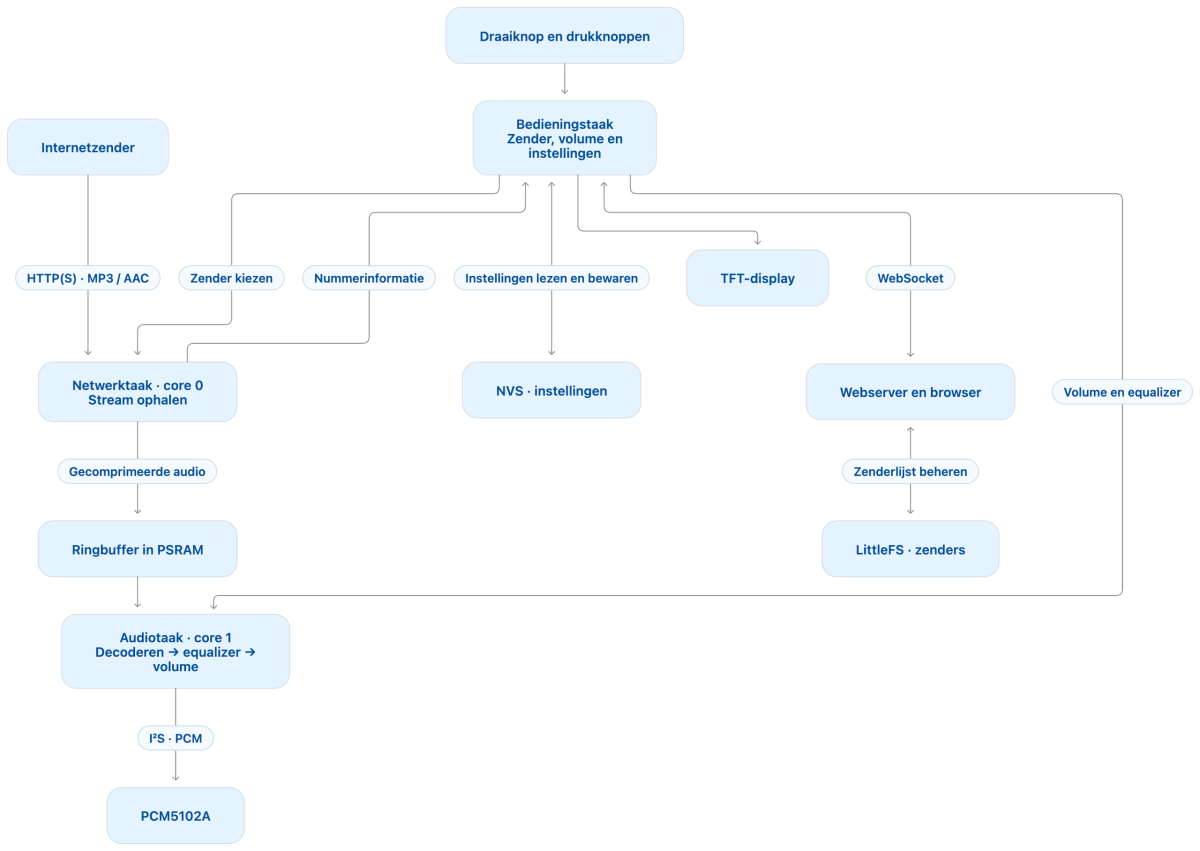
Separate tasks fetch the stream, play the audio, and handle the controls. This keeps the controls responsive even when the network is slow. You can still use the knob or the browser to choose another station while the radio is trying to reconnect.
Keeping the Display and Web Interface in Sync
The firmware keeps track of the selected station and the current volume in one place. Turn the volume knob and the change appears immediately on both the display and in the browser. Pick a different station in the browser and it appears on the display right away. A WebSocket connection between the radio and the web interface keeps them in sync.
Stations in LittleFS, Settings in NVS
The station list lives in a JSON file in LittleFS, the filesystem in flash memory. The radio uses non-volatile storage (NVS) for individual settings such as the last selected station, the equalizer settings, the encoder direction, and the Wi-Fi SSID and password. When you turn the radio off and back on, it picks up with those saved settings.
From Internet Stream to Sound
Opening an MP3 or AAC Stream
When you select a station, the radio opens an HTTP or HTTPS connection to the address in the station list. The address must point directly to an MP3 or AAC stream so that the radio can receive the audio.
How the Ring Buffer Separates Stream Reception from Playback
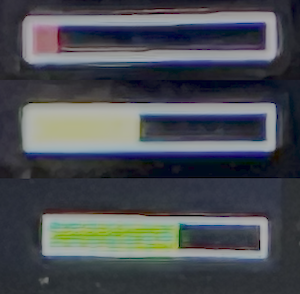
The network task writes incoming audio data to a ring buffer in PSRAM. The playback task reads from it at its own pace. On startup, the radio waits until enough data has accumulated in the buffer, as shown by the yellow bar.
The buffered data lets playback continue through short fluctuations in the incoming stream.
From the Decoder Through the Equalizer and Volume Control to I²S
The decoder turns the compressed MP3 or AAC data into digital audio samples. The firmware applies the equalizer settings and volume, then sends the samples over I²S to the PCM5102A.
Station and Track Information
Some stations send track information alongside the audio data. The firmware extracts it from the stream before the audio reaches the decoder. It formats the text once for both the display and the browser.
When a Station Cuts Out or Stalls
Using the Ring Buffer to Ride Out Brief Interruptions
If a station temporarily delivers data more slowly than the radio consumes it, the buffer level drops. The radio keeps playing as long as there is audio left in the buffer. Once enough data starts arriving again, the buffer refills while playback continues.
Reducing Delays with Wi-Fi and TCP Settings
The firmware disables Wi-Fi power saving to keep the receiver active during playback. I also adjusted the TCP settings so the radio can receive more data in a burst. That helps the buffer refill faster when the data starts flowing again after a brief delay.
Retrying a Failed Connection
Sometimes the radio cannot connect on the first attempt when you choose a station. The firmware retries while the audio remains muted. Playback starts once the connection is working and enough data has accumulated in the buffer.
What Happens When the Stream Stalls?
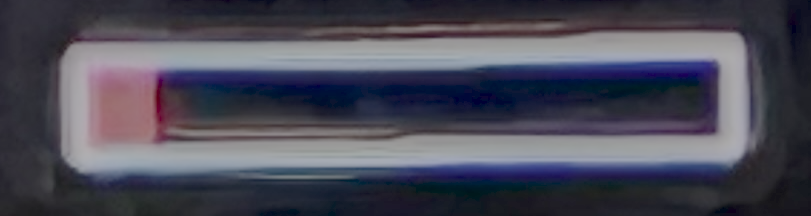
A connection can stay open even when usable audio data stops arriving. The firmware detects this when the playback task repeatedly finds an empty buffer. If that continues for about five seconds, the playback task asks the network task to close the connection and reopen it to the same station.
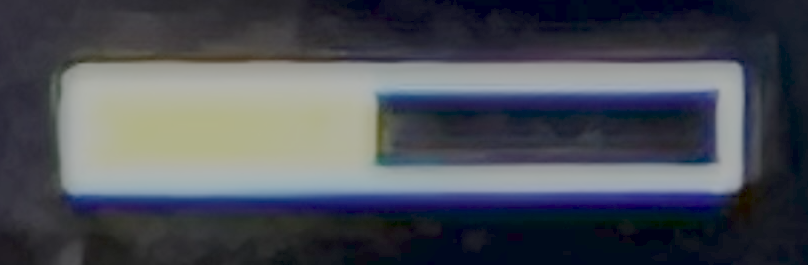
Once the buffer runs dry, the radio waits for enough data to build up again. Starting as soon as the first data arrives can produce short bursts of music separated by silence. Waiting for the buffer to refill gives the stream time to get going again.
Waiting for the Buffer to Refill Before Resuming Playback
Checking Wi-Fi and Restarting the Same Station
If the stream keeps stalling, the firmware checks roughly every twenty seconds whether the radio still has an IP address. It tries to restore Wi-Fi first if needed, then restarts the current station’s stream. If the problem persists, the radio goes through up to four recovery attempts before looking for another station.
Switching to Another Station in the Same Group After Four Failed Attempts
If the current station is still cutting out after four recovery attempts, the radio looks for an alternative in the same group. It uses the first letter of the sortField to find a match. If there is no matching station, the current one stays selected.
Building and Installing the Radio
Building and Flashing the Firmware with ESP-IDF
The project uses ESP-IDF and can be opened in VS Code with the ESP-IDF extension. The build also creates a LittleFS image containing the web interface and the initial station list. On the first installation, ESP-IDF flashes that image along with the firmware to the ESP32-S3.
For a simpler installation, you can use my web flasher flasher to install the firmware and LittleFS. All you need is a compatible browser and a USB cable that supports data transfer.
Setting Up Wi-Fi for the First Time
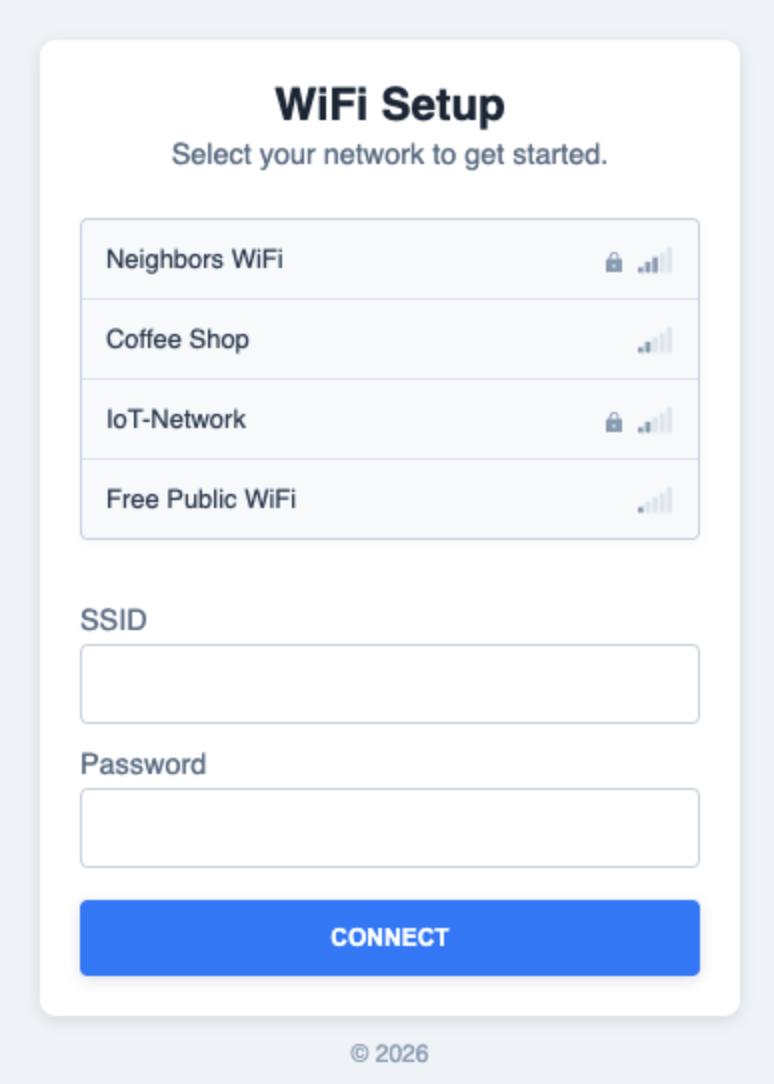
When you first start the radio, it creates its own Wi-Fi network. Open the setup page, choose your own network, and enter its password. The radio saves those details and connects automatically the next time you turn it on.
Updating the Firmware over the Network
You can update the firmware over the air (OTA) on your local network. The radio stops the audio tasks before writing the update and restarts once the new firmware has been written.
Source Code and Documentation
You’ll find the source code, build instructions, and technical project notes in the radioProject repository on GitHub.
 Follow
