
1,106 keer bekeken / views
I recently installed a Reolink Video Doorbell at my house, and overall I’m very happy with it. The image quality is great, notifications are fast, and setup was straightforward.
But there was one problem…
My Maker Shed is located more than 25 meters away from the front door. I already had an old wired doorbell installed there, so whenever someone rang the front doorbell, I could also hear it inside the shed. Very convenient when working on projects.
Unfortunately, after replacing the old doorbell with the Reolink Video Doorbell, that setup stopped working.
The included wireless chime uses Bluetooth, and the signal simply does not reliably reach my shed.
Disclaimer
Warning: This modification involves opening the Reolink chime enclosure. Inside the chime, parts of the circuitry are directly connected to 110–230V AC mains voltage, which can cause serious injury, electric shock, fire, or even death if handled incorrectly.
This modification should only be performed by qualified and properly trained electrical engineers or electronics professionals who are experienced in working with mains voltage equipment.
Opening the chime enclosure will immediately and permanently void the manufacturer’s warranty.
This post is published for educational and informational purposes only, simply to demonstrate what is technically possible. It is absolutely not intended as encouragement for untrained persons to perform this modification themselves.
If you do not have the proper technical education, training, tools, and experience required to safely work with mains-powered electronics, do not attempt this modification yourself.
I accept absolutely no responsibility or liability for the accuracy, completeness, safety, or functionality of this modification. There is no guarantee whatsoever that this modification will work correctly, safely, or reliably in your specific situation. Any attempt to reproduce or use the information provided in this article is entirely at your own risk and responsibility.
Looking for Solutions
After searching online, I discovered that many people run into the same issue. There are several DIY modifications available to connect the Reolink chime to an existing wired doorbell infrastructure.
One of the most popular solutions uses an Arduino Nano to monitor the pulses sent to the internal speaker of the chime.
The idea works, but it depends heavily on the exact melody used by the chime. Different tunes generate different pulse patterns, which is probably why the solution does not work consistently for everyone (as you can see in the comments).
So I wanted something simpler and more universal.
A Simpler Hardware Hack
After opening the chime, I noticed something interesting.
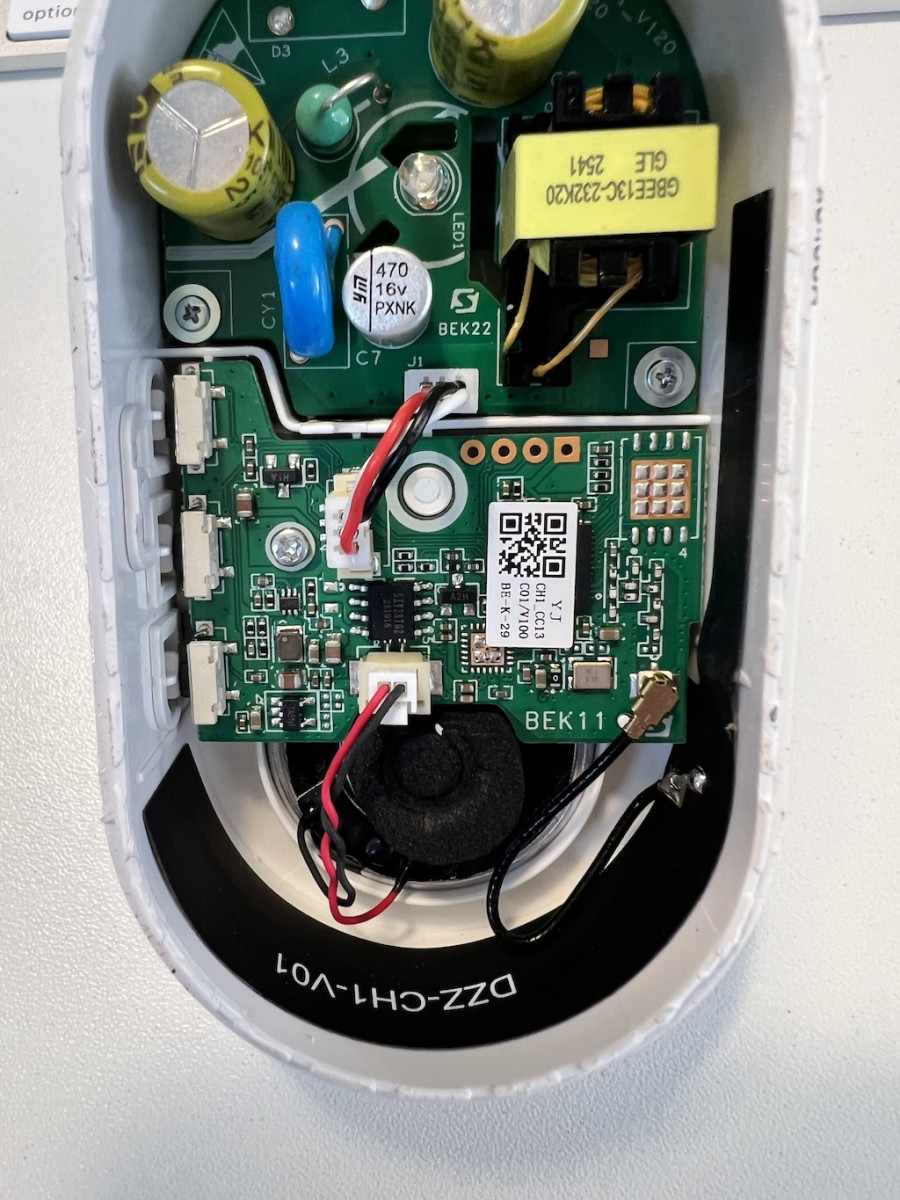
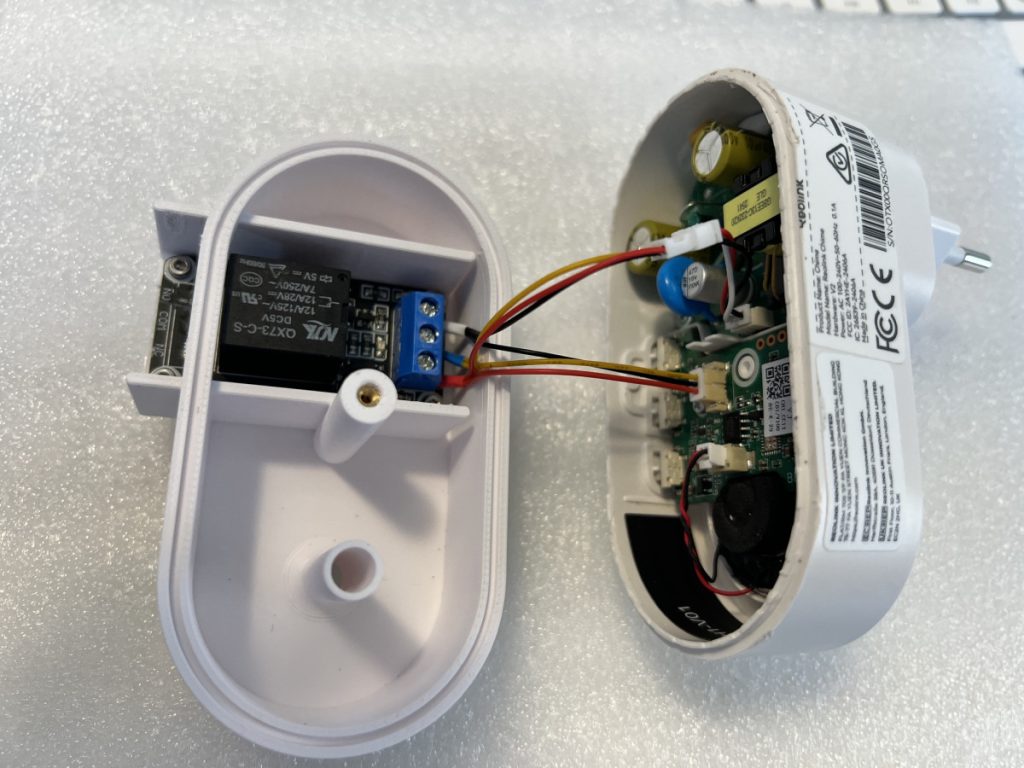
The small 3-wire JST connector appears to carry:
- 5V power (Red)
- Ground (Black)
- The LED signal (White)
That LED signal is exactly what we need.
When someone presses the doorbell button, the LED flashes immediately. Instead of decoding sound patterns or speaker pulses, we can simply use that LED signal to trigger a relay.
The Modification
The modification is surprisingly simple and requires no soldering or changes to the chime electronics. However, you will need to separate the base and the cover of the chime first.
Start by removing the screw that holds both parts together.
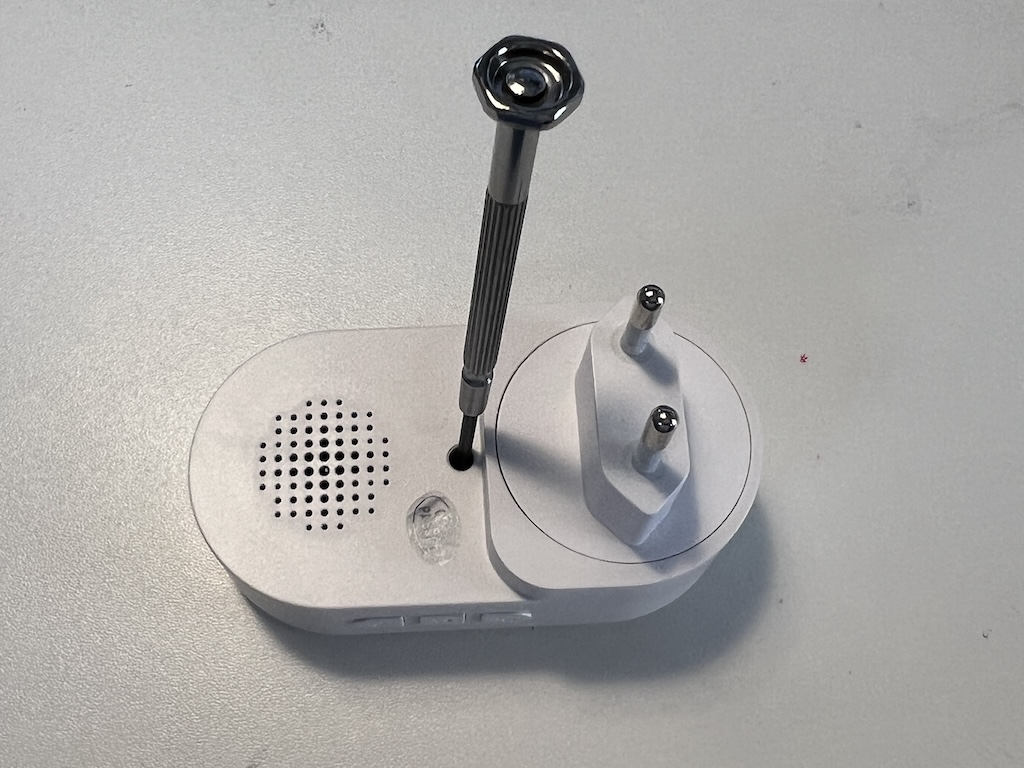
Then, use a hair dryer or hot-air tool to soften the glue inside the chime. This is not an exact science — it involves a lot of fiddling and probably some brute force — but eventually the two halves can be separated.
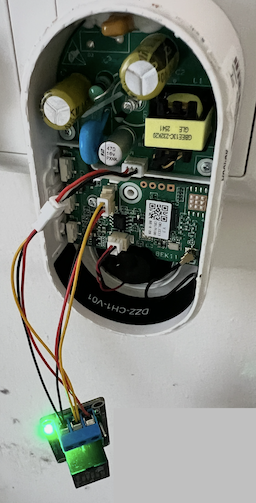
The small 3-wire connectors are JST 1.25mm connectors. I just connected a male and female connector to the existing small cable so I did not have to solder anything directly onto the original chime!
To make a better and longer-lasting connection, you should use wire ferrules.
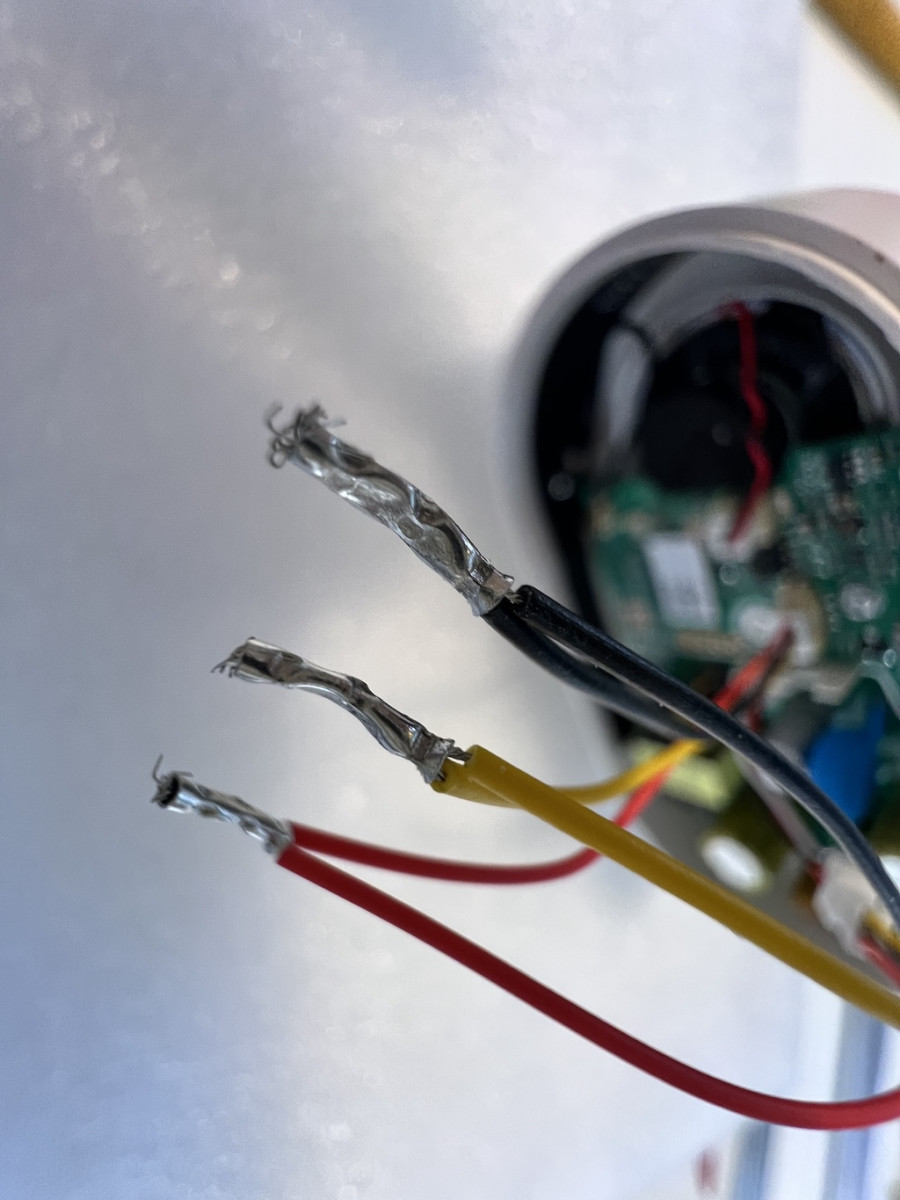
I also modified the 5 volt relay module to use a different connector,
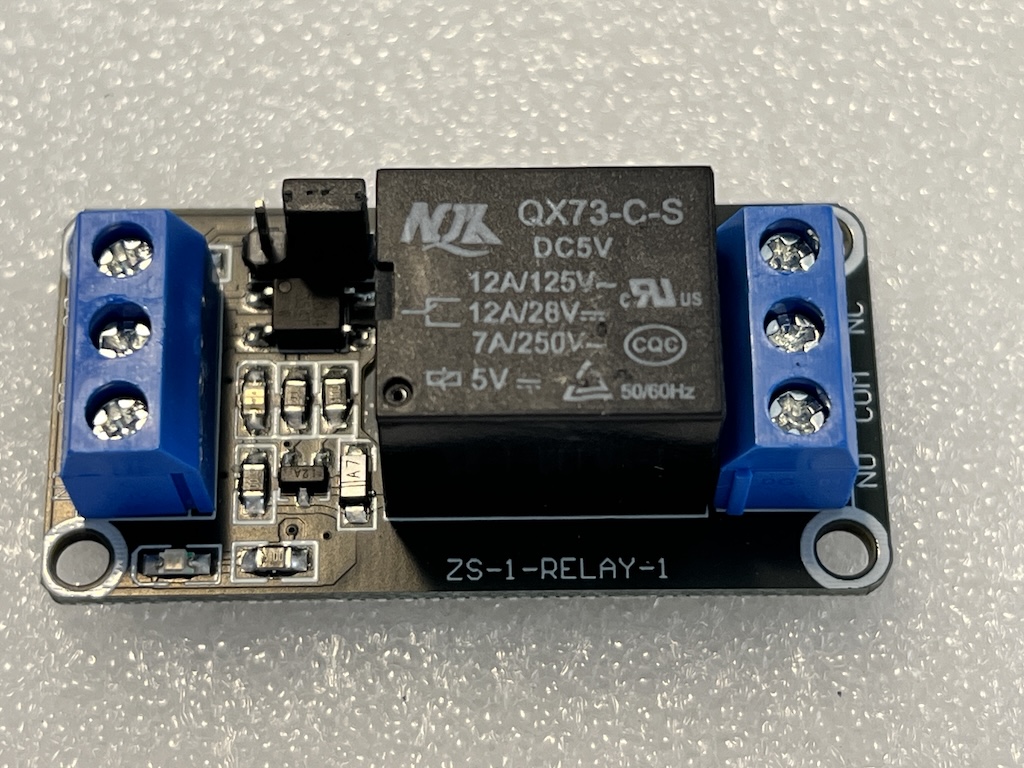
… but that is optional.
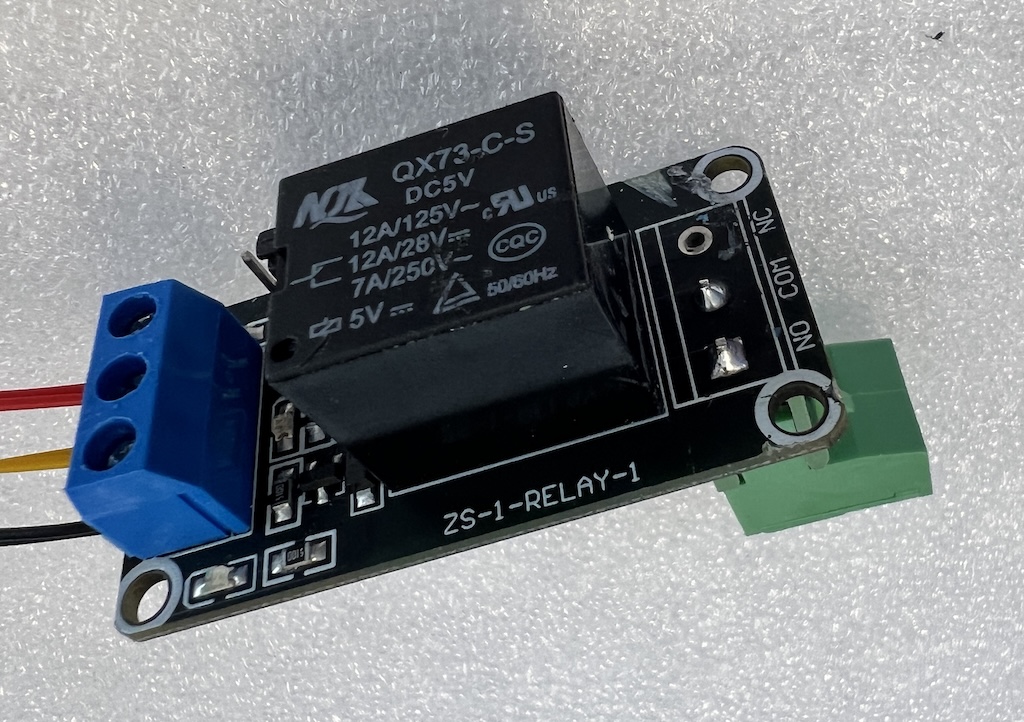
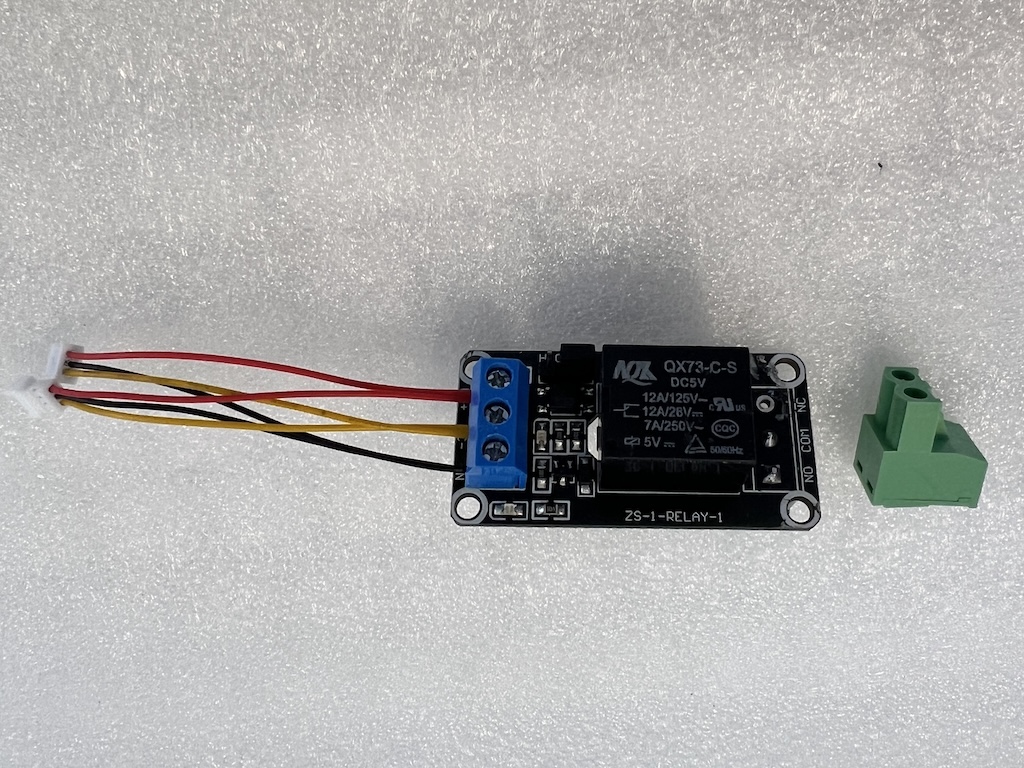
This allows the original wired bell system to work again, while still keeping all the smart functionality of the Reolink doorbell.
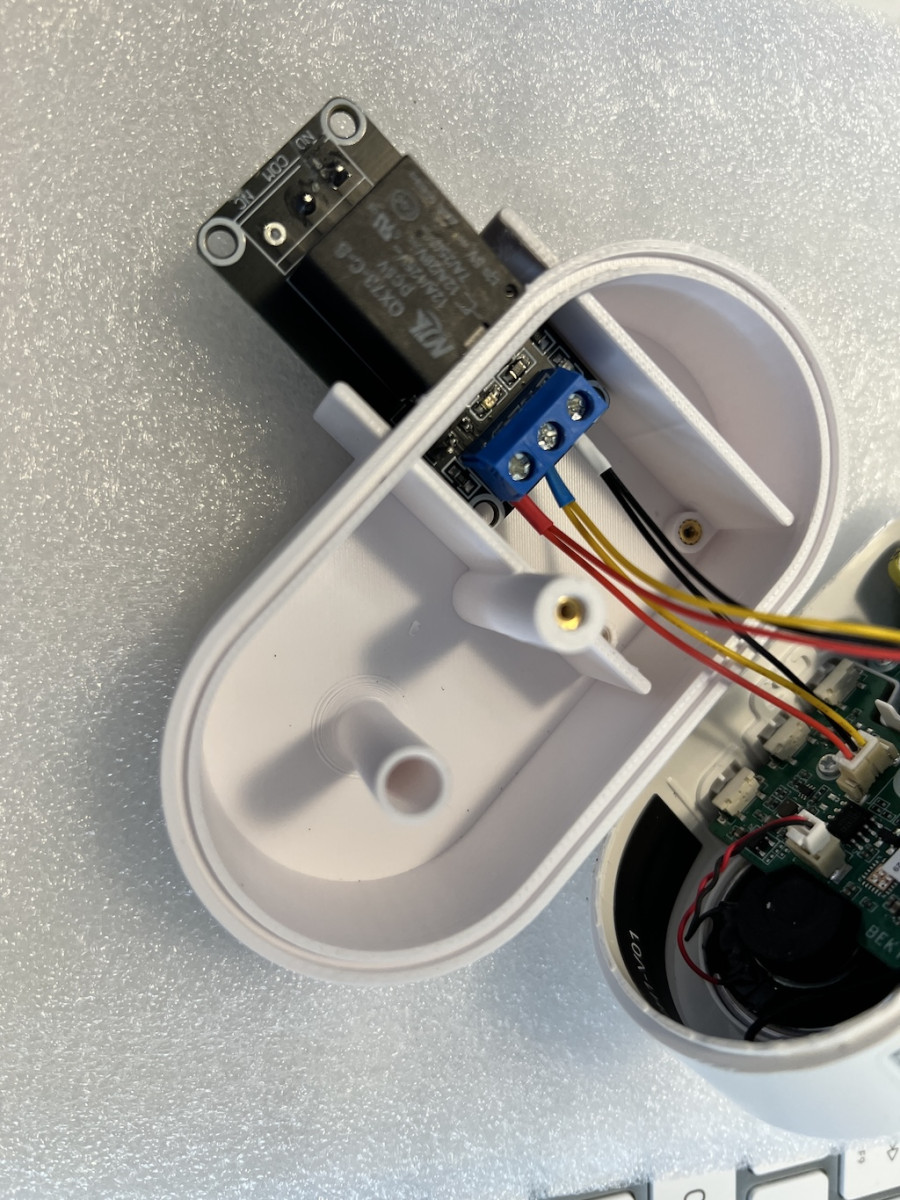
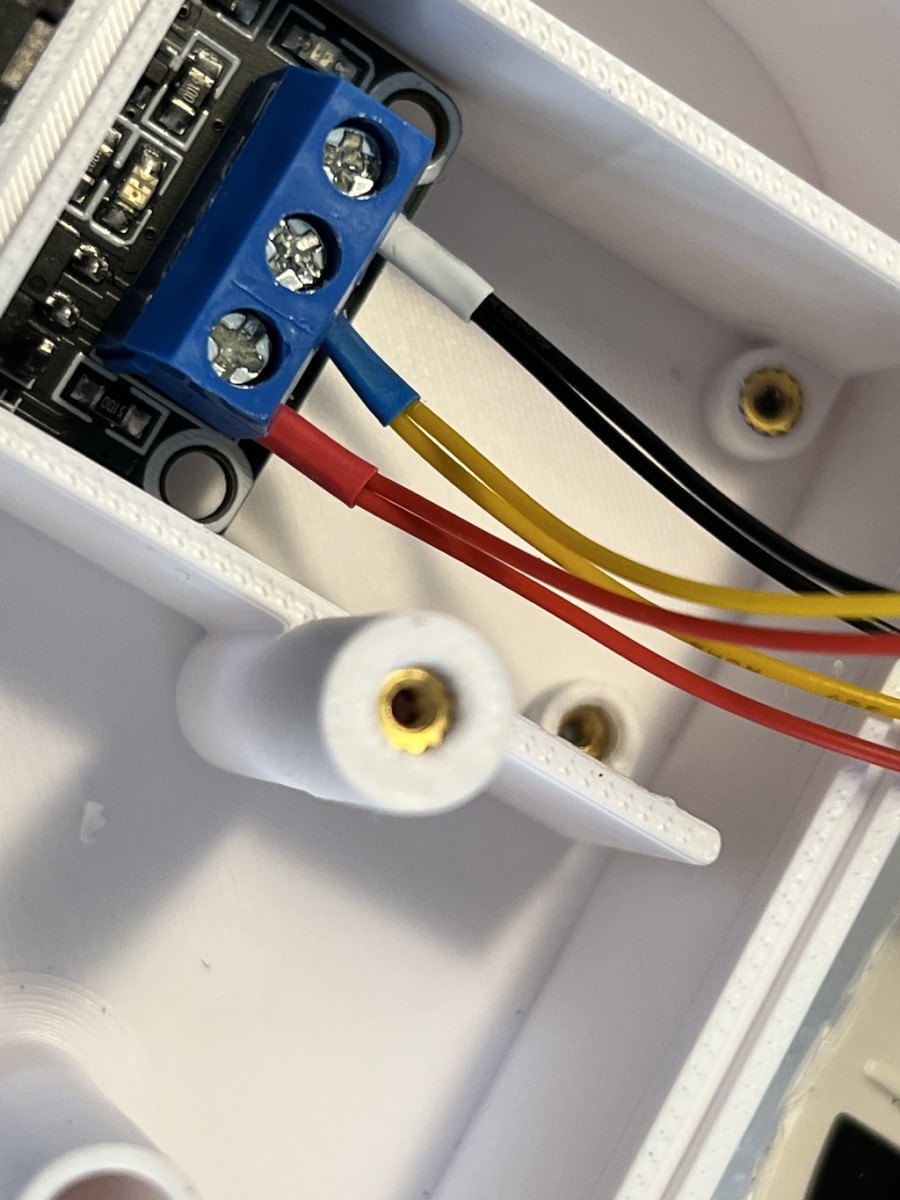
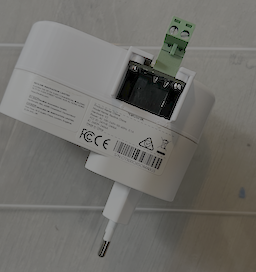
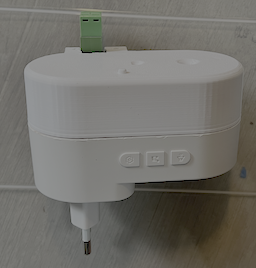
Using Onshape, I designed a new lid for the chime with extra room for the relay.
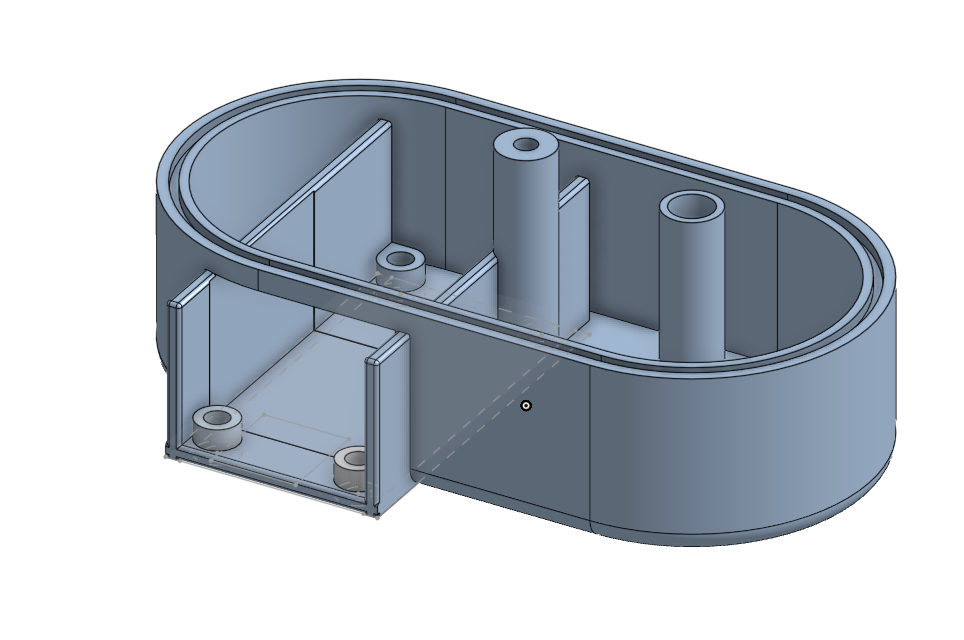
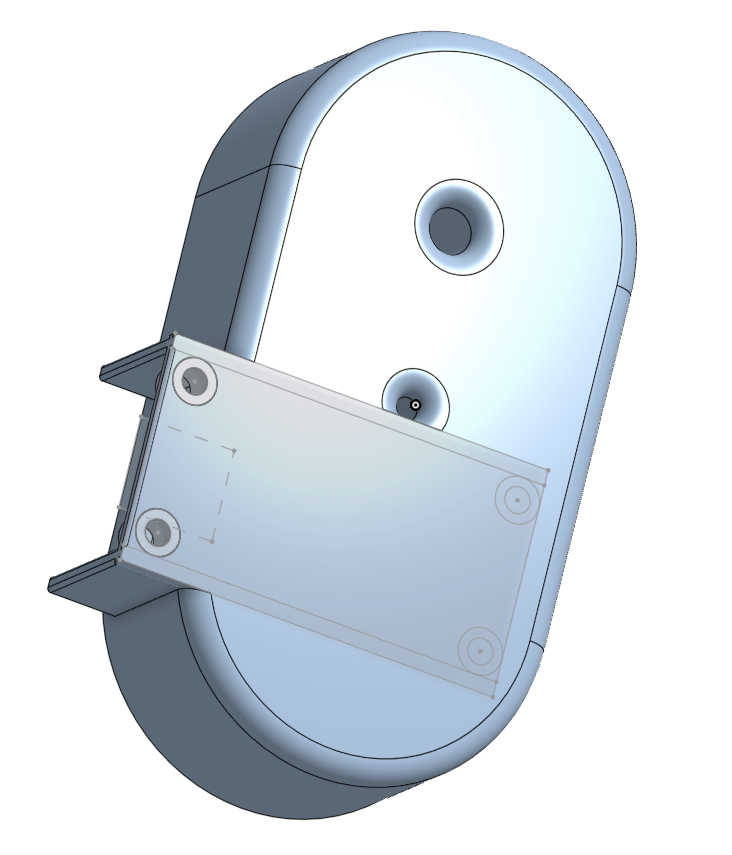
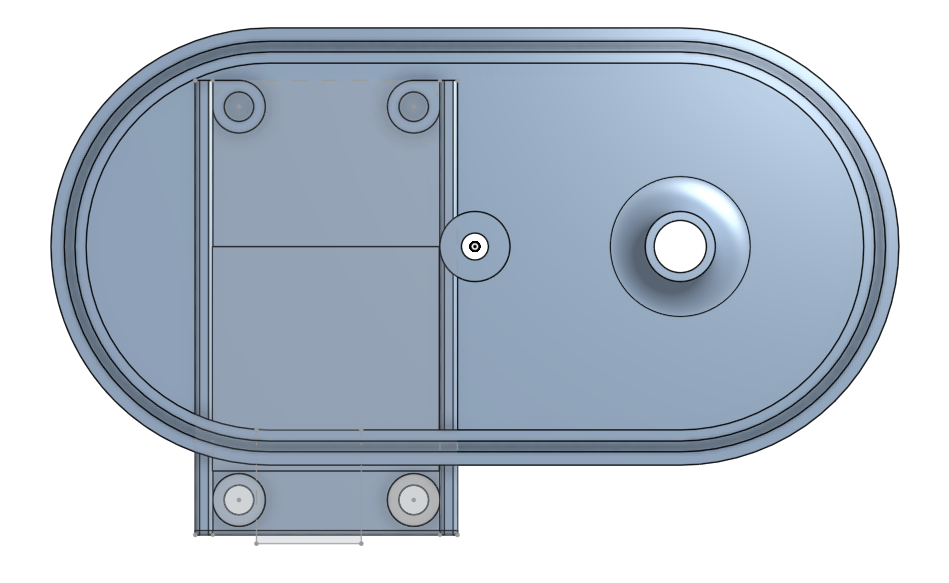
You can download the Reolink-NewChimeLid.stl file from here.
What you need
- Reolink Chime V2 (I did not test it with other versions)
- 5 Volt relay module
- One JST 1.25mm male connector with wires
- One JST 1.25 female connector with wires
- A few wire ferrules. (The smallest ones you can get)
- Five M2 inserts
- One M2x10 and four M2x5 screws
- A replacement for the chime lid (3D printed)
The Only Downside
There is one thing worth mentioning.
The LED does not flash just once — it pulses about ten times during the ringtone sequence.
That means your old mechanical bell will also ring multiple times.
Depending on your type of bell, that may or may not be a problem.
Optional Microcontroller Solution
If you want cleaner behavior, you can add a small microcontroller such as:
- Arduino Nano
- ATtiny85
The microcontroller can:
- detect only the first LED pulse
- activate the relay for a fixed time (for example, 2 seconds)
- ignore the remaining pulses
- reset itself after the ringtone sequence finishes
That creates behavior much closer to a traditional doorbell.
Final Thoughts
I really like solutions like this.
No cloud hacks.
No complicated software decoding.
Just a simple hardware modification that makes modern smart-home hardware work with existing infrastructure.
And honestly… that is exactly the kind of project Makers and hobbyists love.
Happy hacking!
 Follow