68 keer bekeken / views
This is the third and final post about measuring air quality.
Hier kun je een Nederlandse vertaling van deze post vinden.
Earlier posts are:
The first post and this post distinguish themselves by the simplicity of the electronics. Both with the MQTT Aerosol Sensor and with this Desktop Air Quality Meter, only four wires need to be soldered together (they do of course need to be soldered to the correct points! So pay attention).
All three projects use a PM sensor from Sensirion. The MQTT Aerosol Sensor uses the simplest (and cheapest) PMS5003 sensor. For the Handheld Aerosol Sensor I used the slightly more expensive SPS30 sensor (although this can also easily be adapted for the PMS5003), and for this project I use the SEN66 sensor.
All three sensors are easy to find and order on the internet.
Design considerations
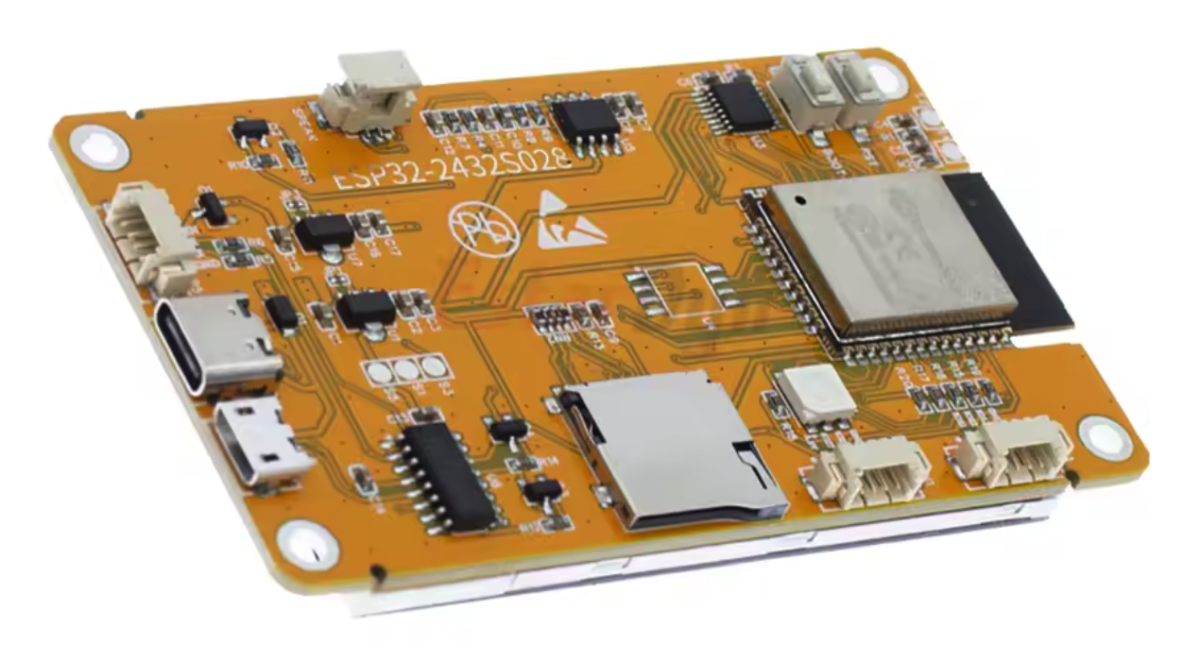
For a desktop device you obviously need a clearly readable screen. For the software, the ESP32 is extremely suitable. On the internet I found this display with integrated control electronics, including an ESP32. Ideal for this project!
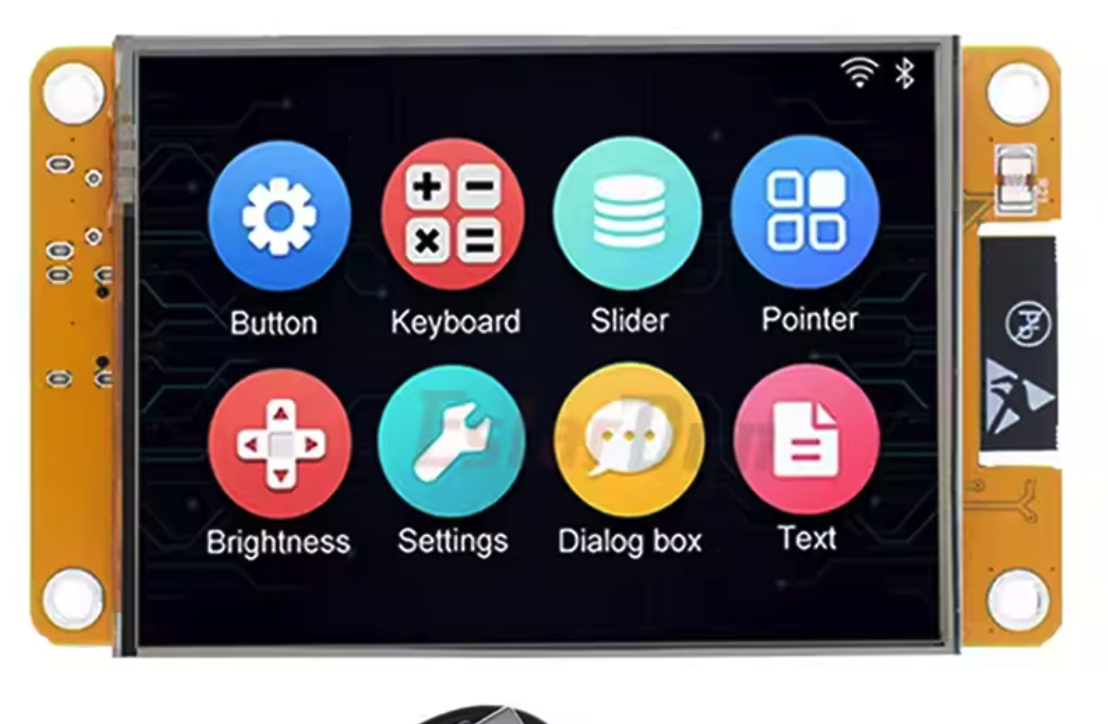
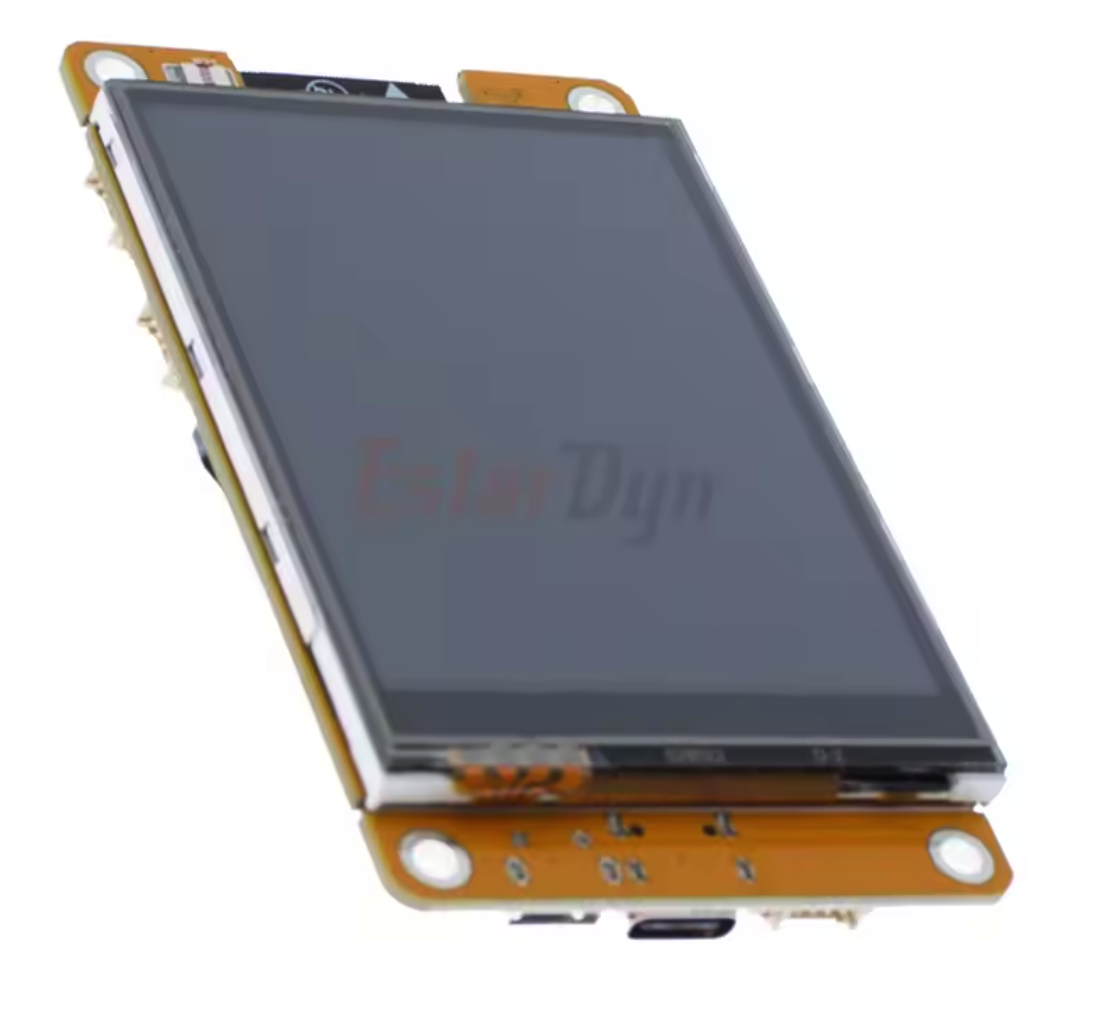
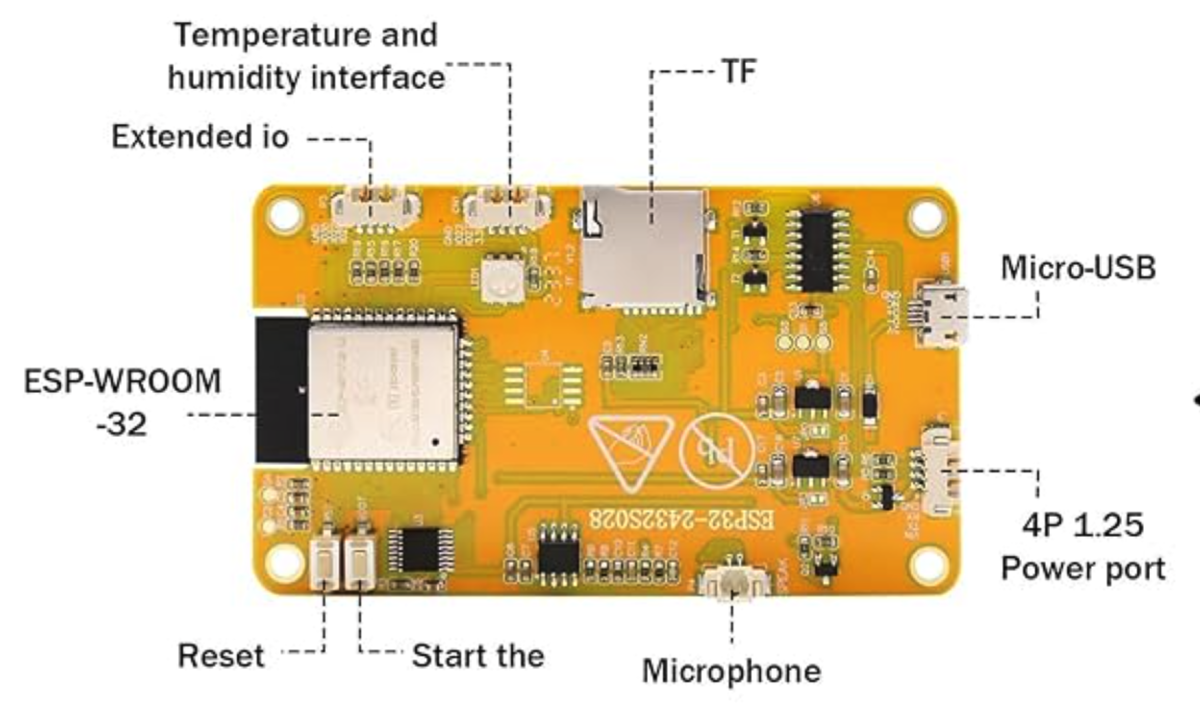
Be careful which one you buy (search for “Cheap Yellow Display”) because there are versions with the ST7789D controller and versions with the ILI9341 controller. My software is tested with the ILI9341 controller.
SEN66
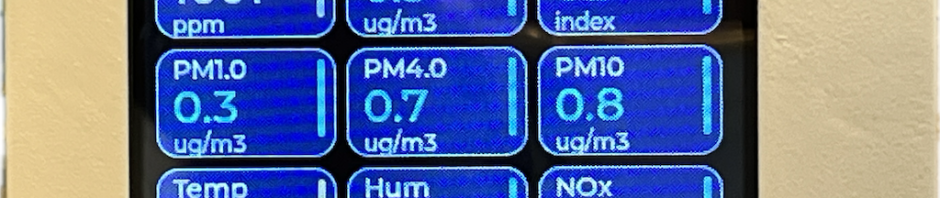
This sensor is more advanced than the PMS5003 or SPS30. It measures the following quantities:
Particulate Matter
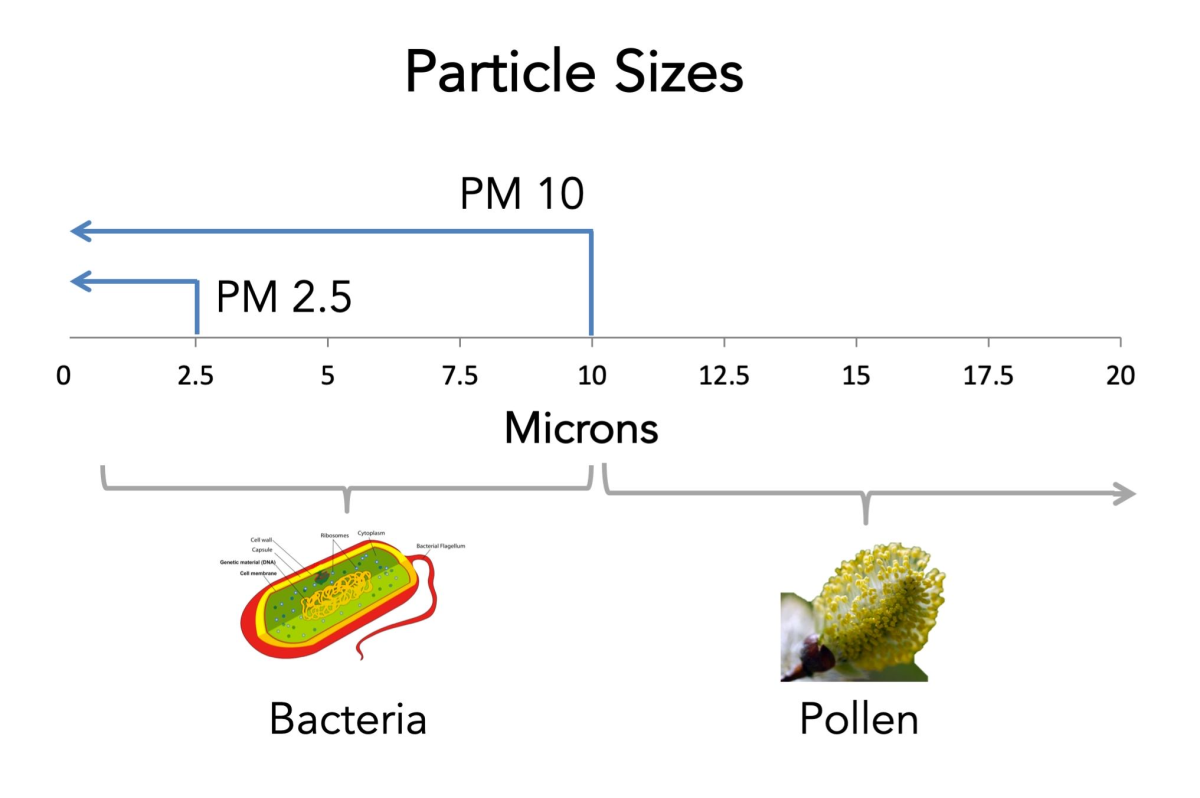
Fine dust (PM1, PM2.5, PM4 and PM10). These are small particles in the air. PM1 and PM2.5 are very small, dangerous particles. PM10 are larger particles such as regular dust and pollen.
Carbon dioxide (CO₂)
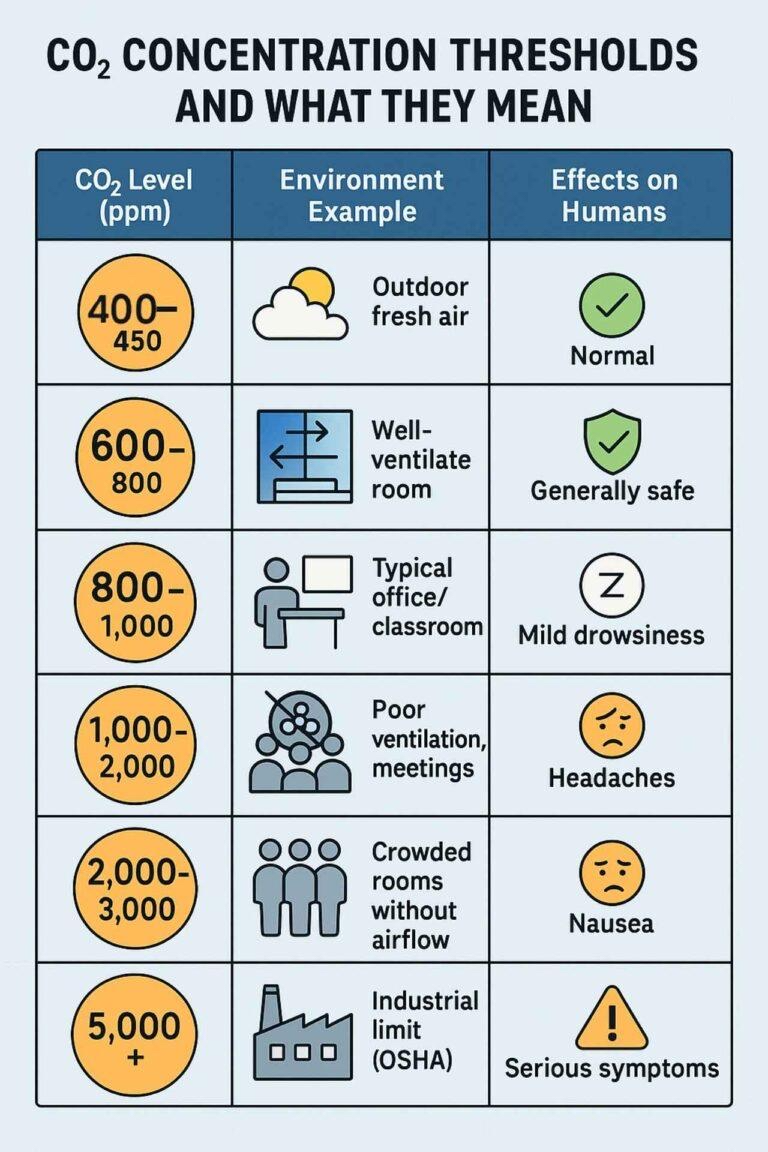
Indicates how well a space is ventilated. It shows how much exhaled air is present in the measured space. A high value means stuffy air (open the windows).
VOC (air pollution by substances)
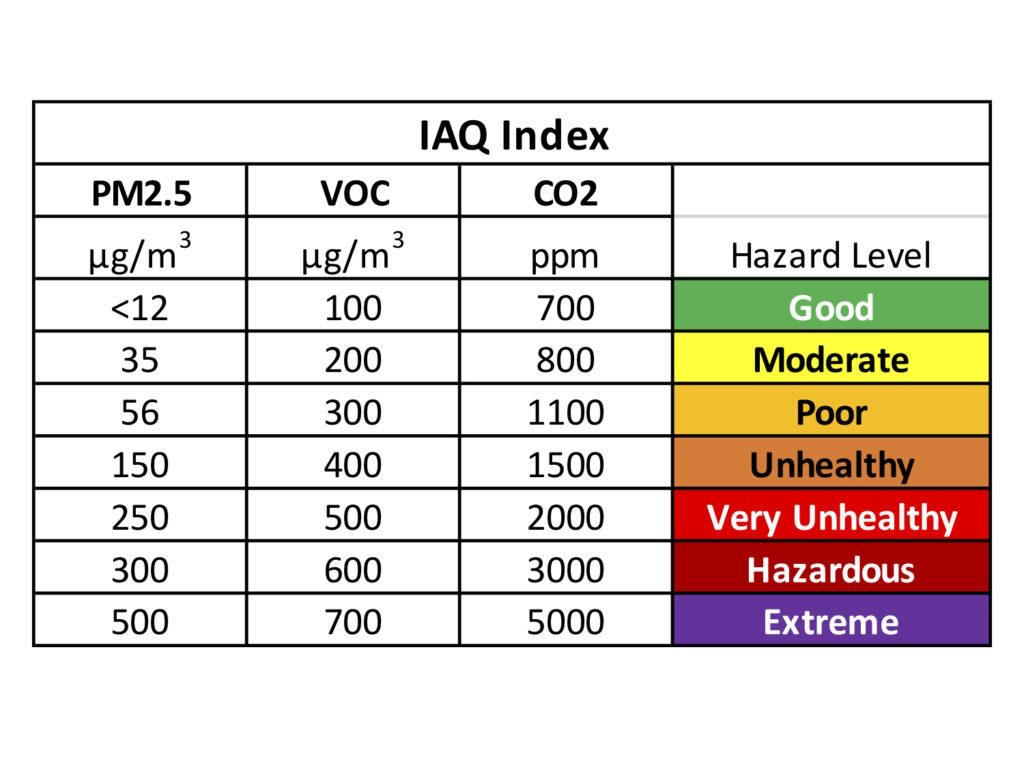
Measures gases emitted by, among other things, cleaning agents, paint, glue, perfume and deodorant. It is therefore an indication of how many “chemical smells” are present in the air.
Nitrogen oxides (NOx)
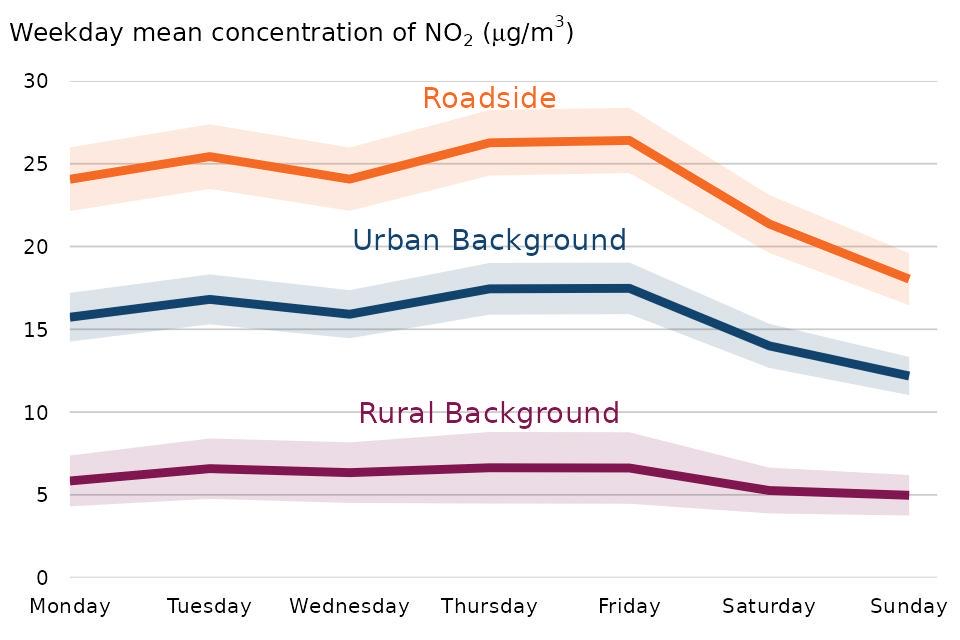
This is an indicator of air pollution caused by combustion such as traffic, gas stoves and fireplaces.
Humidity
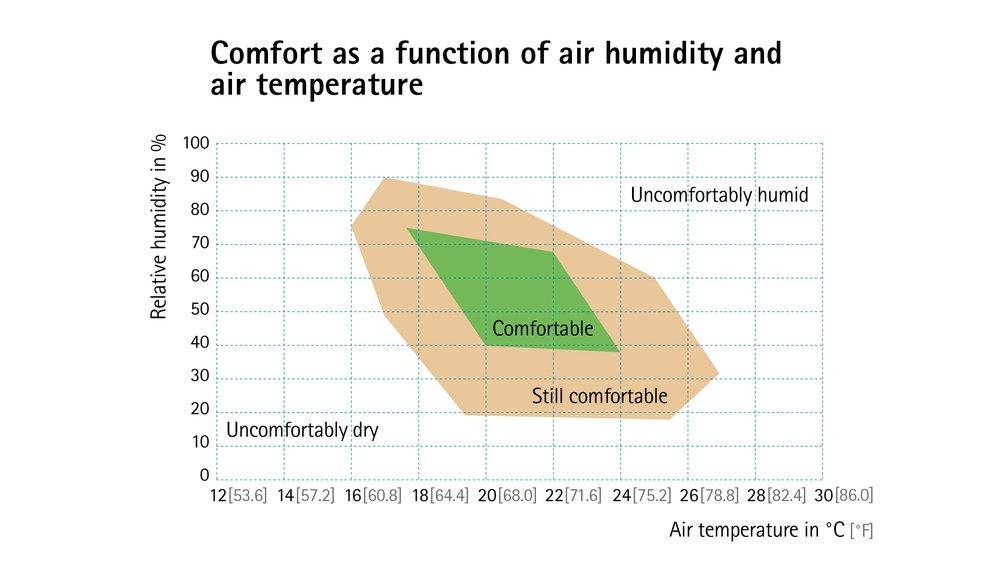
An indication of the amount of moisture in the air.
Temperature
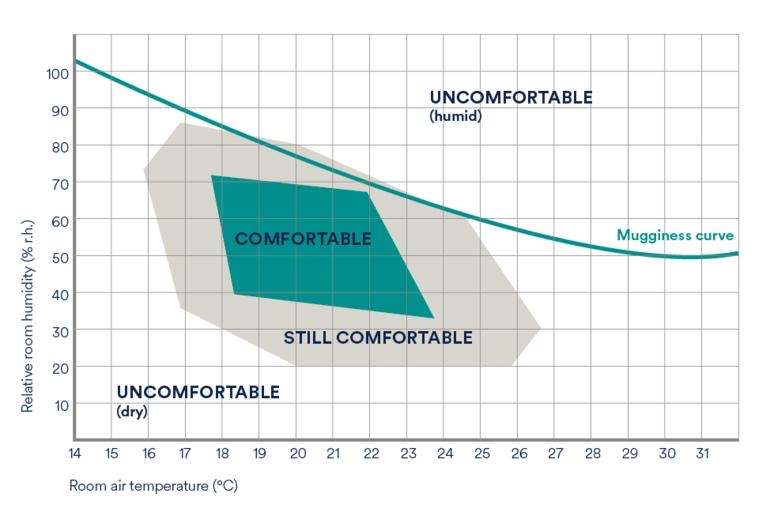
Simply, the air temperature in the room.
Wiring diagram
The display controller board has an I2C interface that we can nicely use to connect the SEN66. Unlike the PMS5003, the SEN66 already ‘works’ at 3v3 and that is exactly what is also supplied on the I2C connector (the Temperature and Humidity interface)!
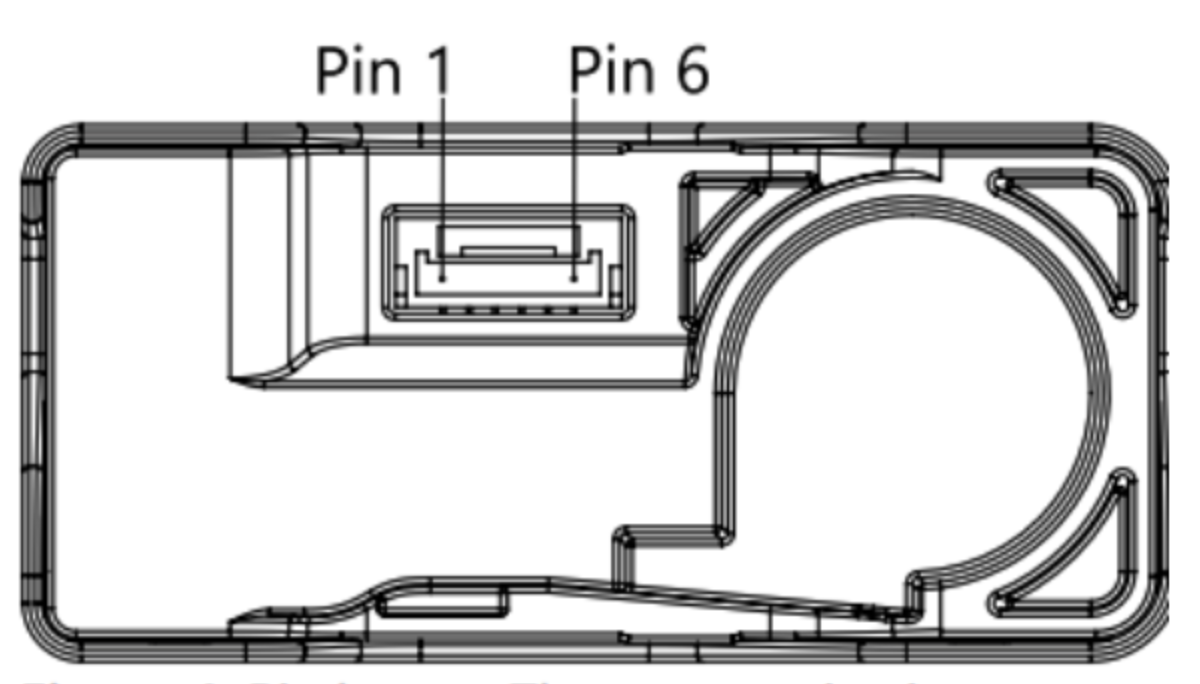
You connect the SEN66 as follows:
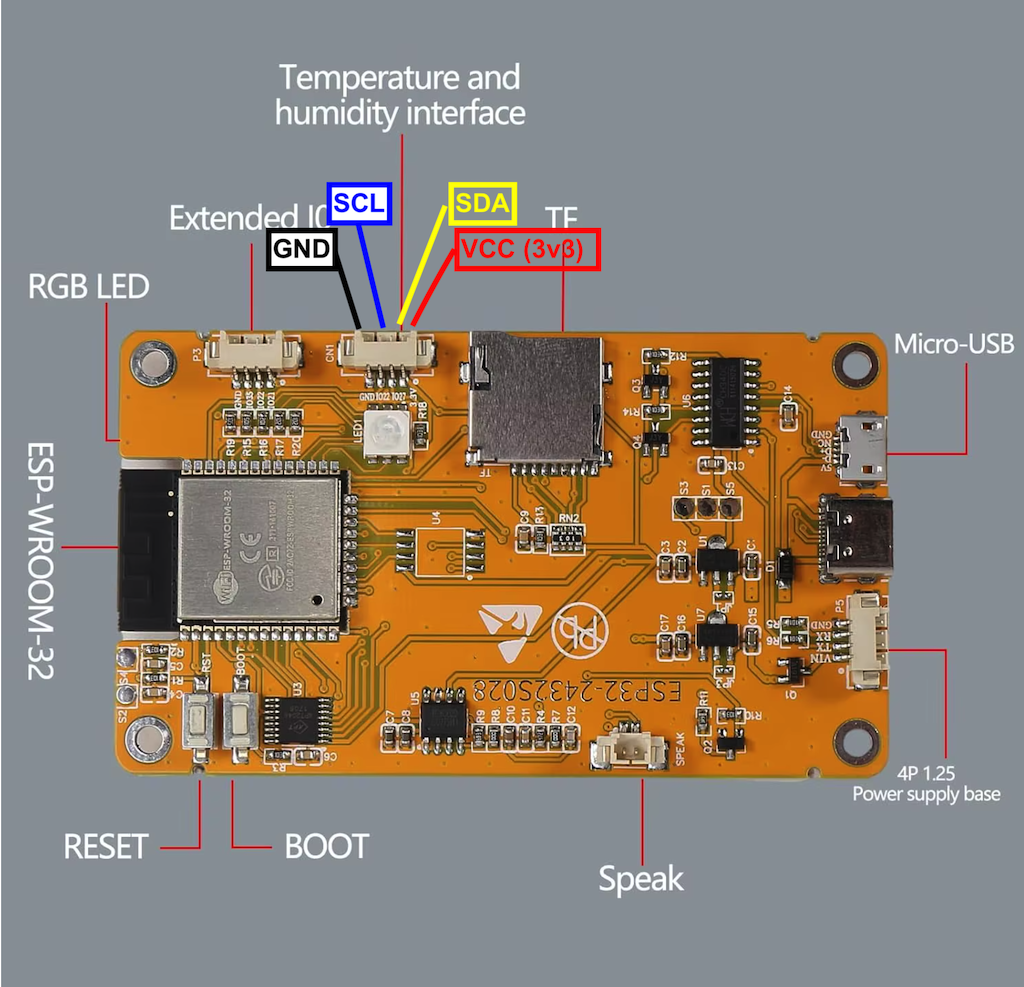
SEN66 VDD(1) <- Vcc -> Board (1)
SEN66 GND (2) <- GND -> Board (4)
SEN66 SDA (3) <- SDA -> Board (2)
SEN66 SCL (4) <- SCL -> Board (3)
SEN66 (5) -> N.C.
SEN66 (6) -> N.C.
Operation

At startup, the Desktop Air Quality Meter will first try to connect to a known WiFi network.
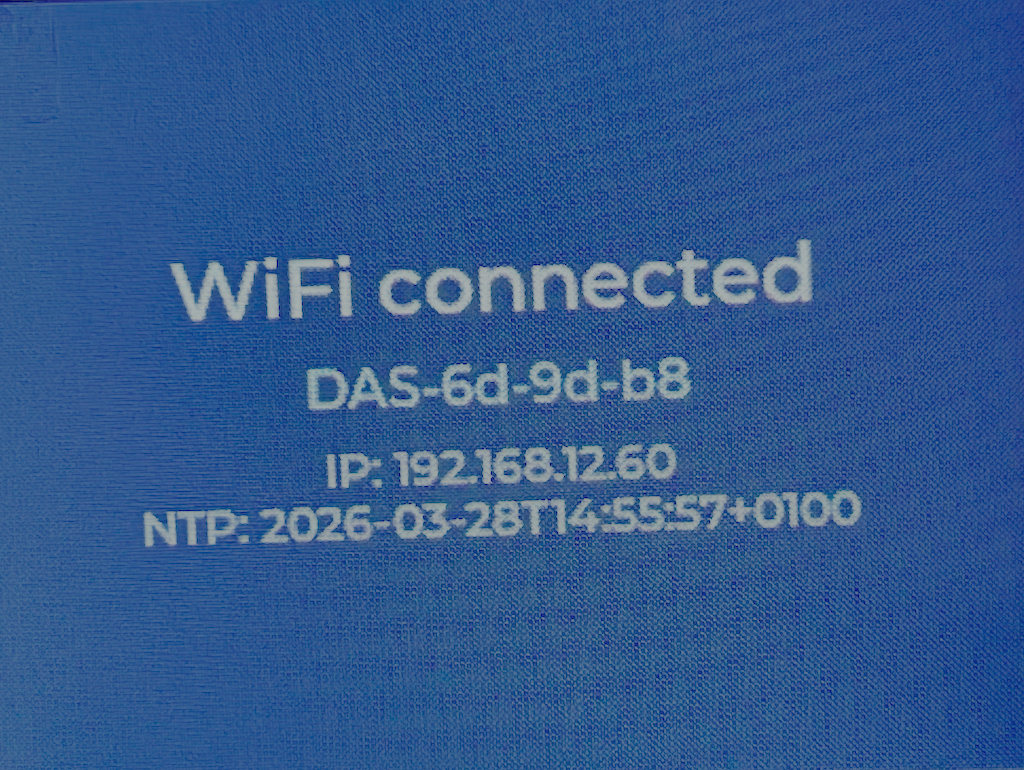
If successful, it connects to that network.
If it fails to connect to a known network, the WiFiManager is started.
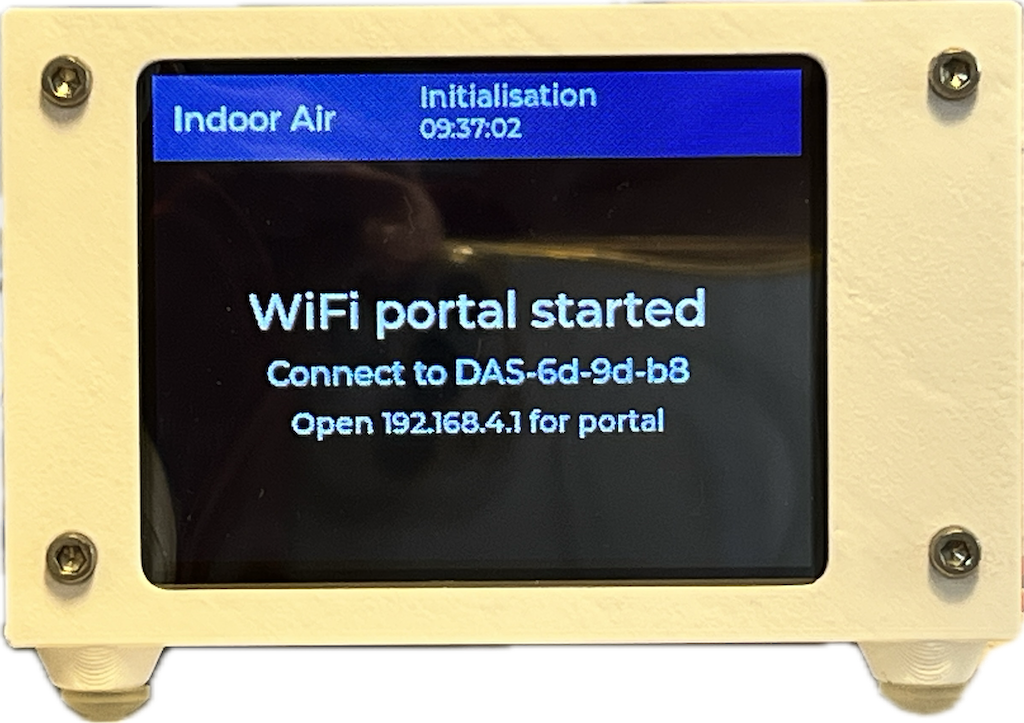
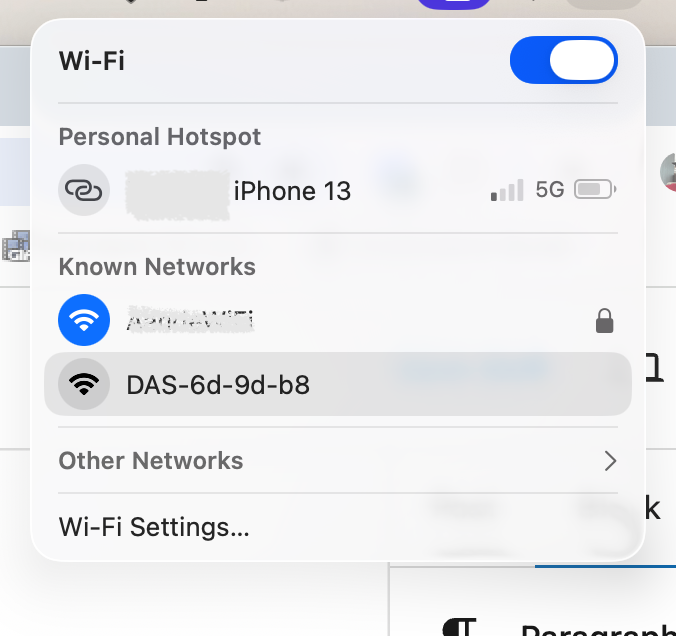
You then need to temporarily connect your computer, tablet or phone to the Access Point of the Desktop Air Quality Meter and then enter the required data in the portal (or, if it does not start automatically, you must browse to “http://192.168.4.1”).
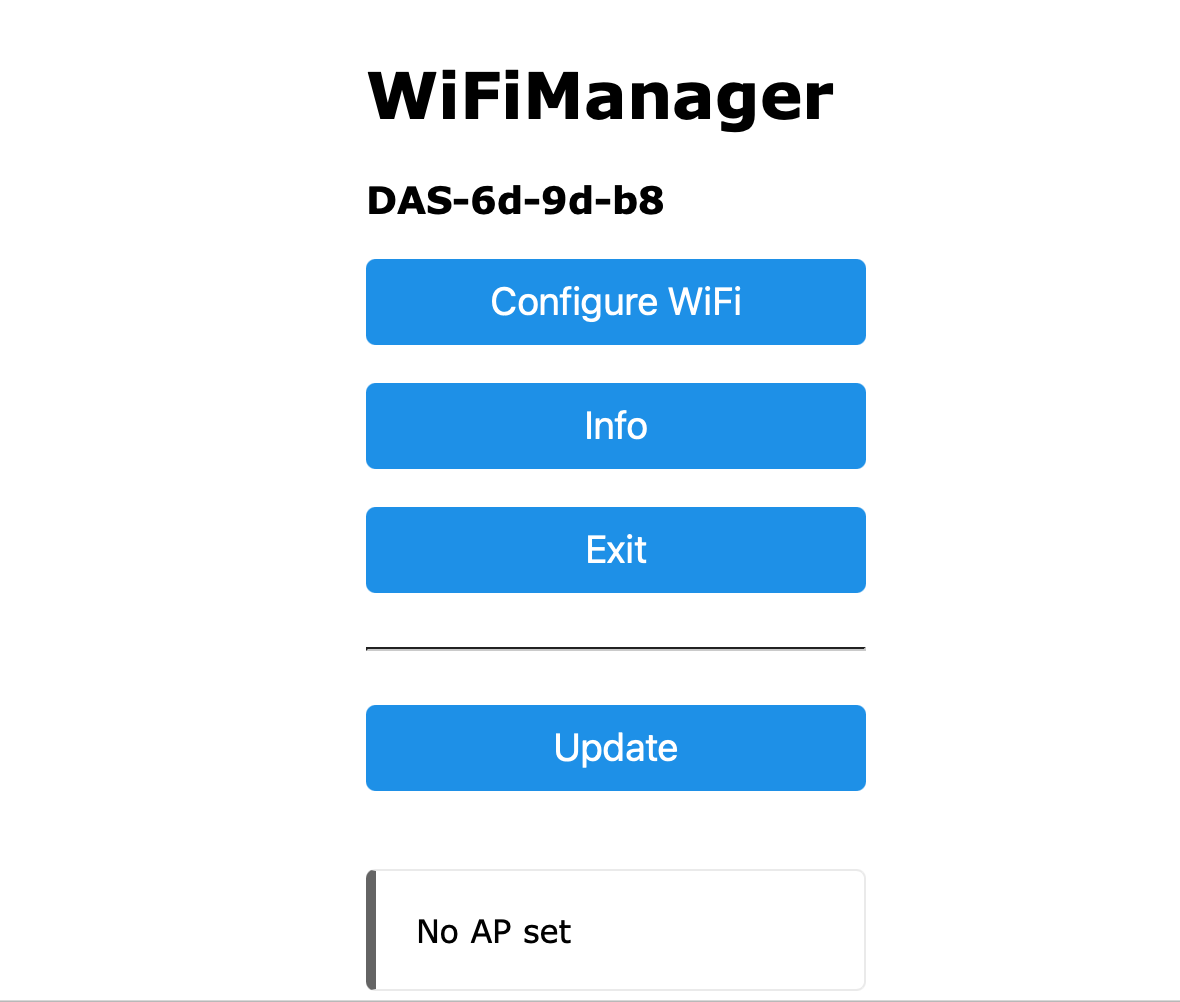
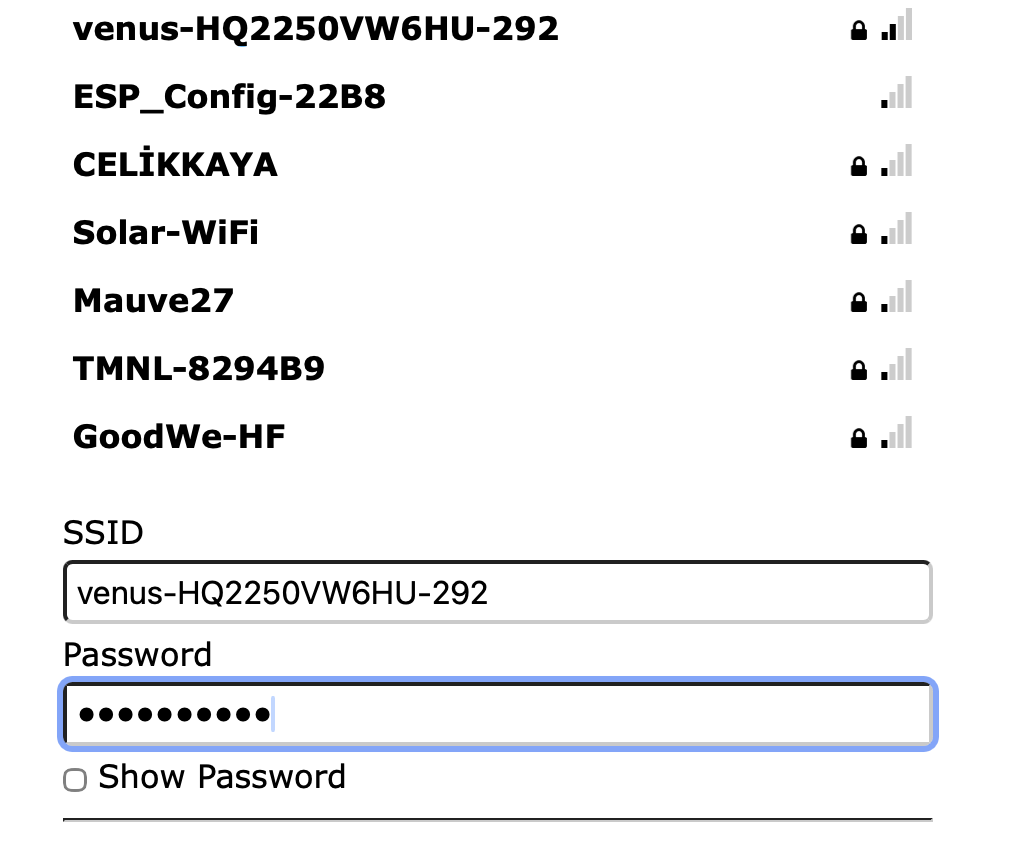
Then click [Save] and the meter will start with the newly entered WiFi credentials.
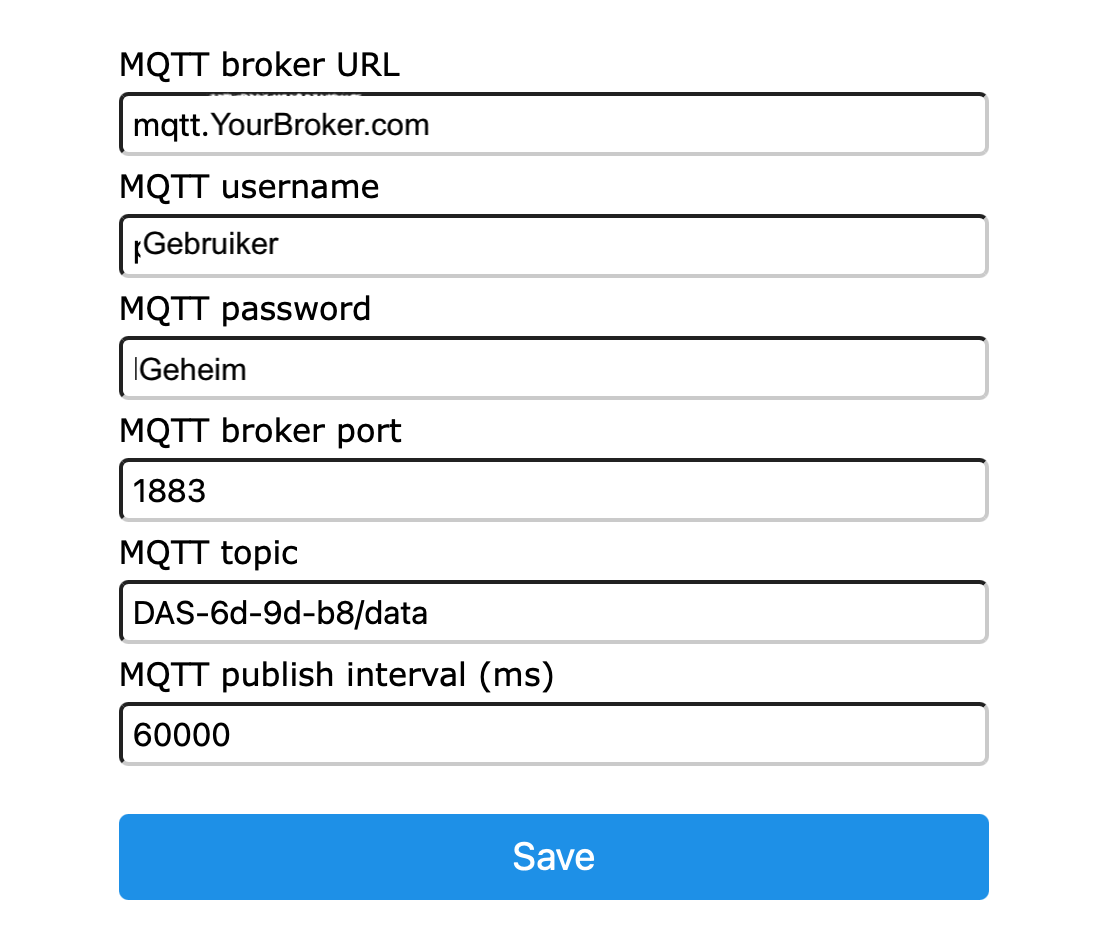
If at any time you want to force the start of the WiFiManager (for example to set a different interval for publishing the measurement data), you can do so by pressing the [Enable] button (GPIO00) and holding it for at least 10 seconds.
If it succeeds in connecting to the WiFi network, the device will wait for the SEN66 sensor to warm up. After that, the measurement data will become visible on the display and will be refreshed every few seconds.

Software
The software for the Desktop Air Quality Meter can be found in this github repo.
You can also flash the software directly via my flasher website.
In the 3D folder you will find an OpenSCAD program with which you can 3D print a nice project box for this project. If you do not have OpenSCAD yourself, you can simply use the .stl files to 3D print the project box.
If you want you can leave a reply.
 Follow