A simple project with surprisingly many learning points.
245 keer bekeken / views
Een Nederlandse vertaling van de post kunt u hier vinden.
Fine dust is one of those topics you usually only read about when it comes to “averages” and “standards.” But what happens in your home, in your workshop, or while soldering?
With an ESP32 and a PMS5003 air sensor I built a simple fine-dust meter. Hardware-wise almost trivial — but along the way I encountered a few interesting (and instructive) pitfalls.
Why measure it yourself?
As a maker you want to see, measure, and understand things. Fine dust (PM10 and especially PM2.5) consists of microscopic particles that can reach deep into the lungs. You can’t see them, often can’t smell them, but they do have an effect on your health — especially with long-term exposure. Measuring it yourself makes it concrete:
- What does cooking do to air quality?
- Is ventilation really that effective?
- Is “indoors” always better than “outdoors”?
Spoiler: not always
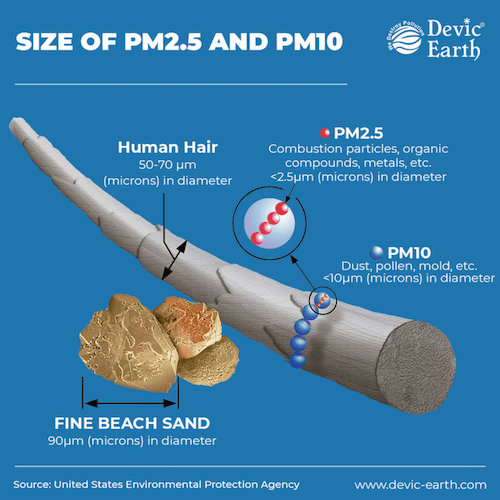
The PMS5003 in short
The PMS5003 is an optical fine dust sensor that operates with a small laser. Particles moving through the airstream scatter the laser light; based on that the sensor calculates concentrations such as:
- PM1.0
- PM2.5
- PM10
Why this sensor is popular with makers:
- Digital UART interface
- Reasonably affordable
- Lots of documentation and practical examples
- Also used in commercial meters
So you’re not measuring “hobby values,” but serious data.
The ESP32: overkill in the right way

For the microcontroller I used an ESP32 DevKitC, but in principle any ESP32 board is suitable. The ESP32 is actually overkill here:
- We only use one UART
- Hardly any computing power is needed
But that overkill makes extension later easy.
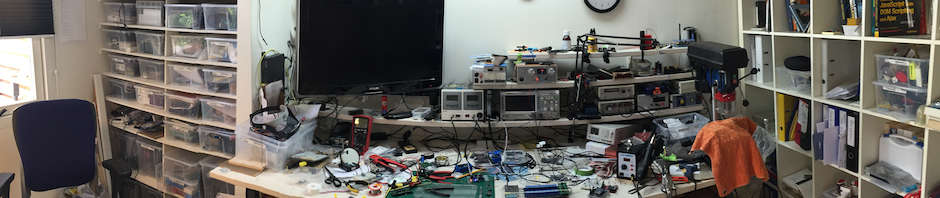
Hardware overview (expandable)
The hardware is deliberately kept simple. In general the project consists of:
- ESP32 DevKitC
- PMS5003 air sensor
- 6 connections:
- 5V (direct from the VBUS)
- GND
- TX
- RX
- SET
- RESET
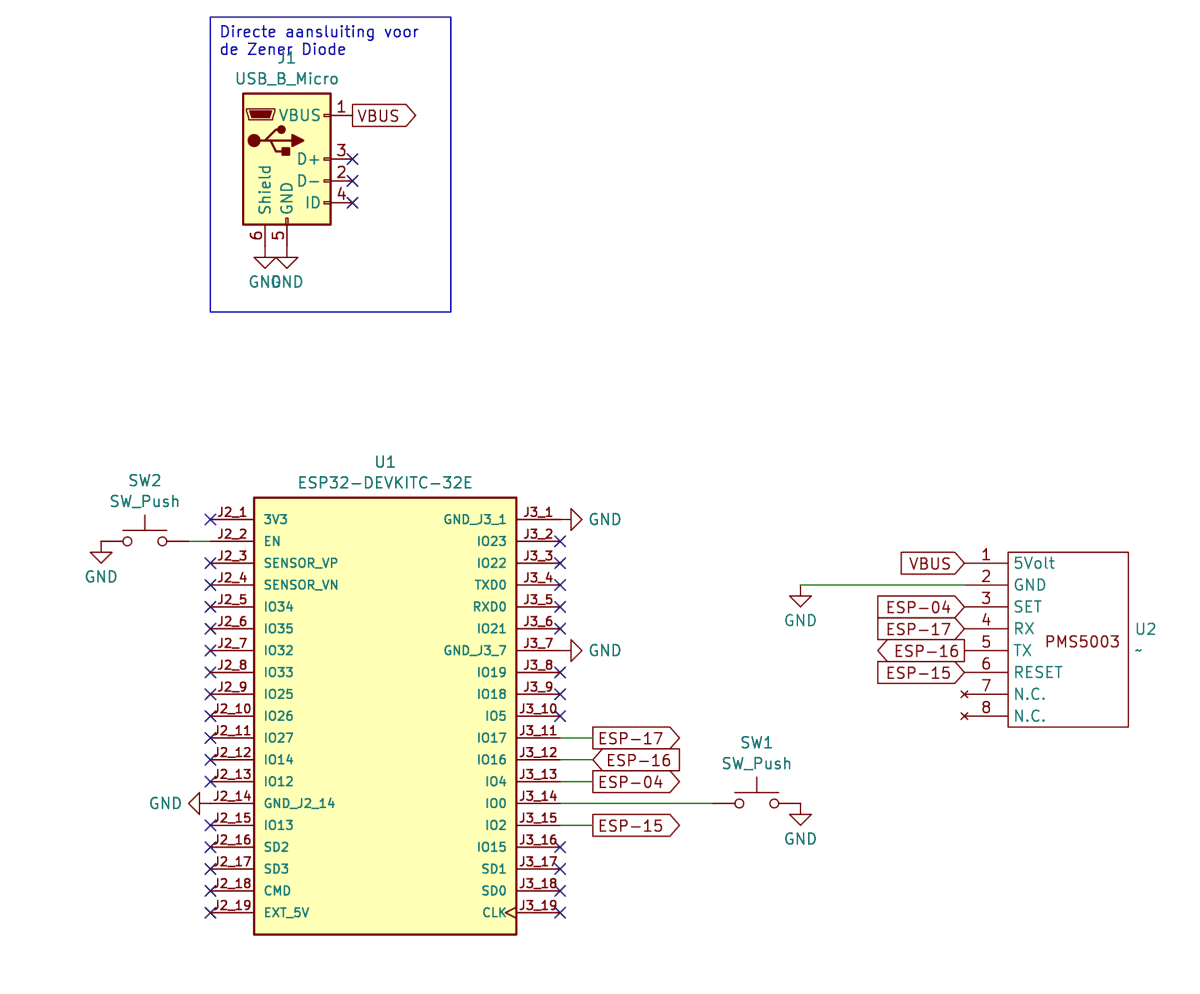


But … “Why am I not measuring anything?”
Here I ran into something worth mentioning. The PMS5003 really needs 5 volts to start the laser.
No 5 volts = no laser = no measurement values.
I powered the sensor via the Vin pin of the ESP32 DevKitC, assuming that there would be a nice 5 volts there. But: I got no valid data. After some measuring I found:
- The Vin pin is not directly connected to the 5V of the USB connector
- There is a Zener diode in between
- That results in less than 4 volts on Vin
- Consequence: the laser in the PMS5003 does not start
The sensor appears to be “on” but is not measuring anything because 4 volts is not enough to fire the laser.
The solution (and a bit of fiddling)
The solution is simple, but not immediately elegant: The 5V connection of the PMS5003 must be connected before the Zener diode on the ESP32 board.

This means:
- Solder directly to the 5V rail of the USB connector
- A little fiddling
- But: after that the sensor works correctly immediately
This is exactly the kind of detail you only run into when you actually build it.
Software overview (general)
The software is deliberately kept overviewable. In broad terms:
- ESP32 reads the PMS5003 frames via UART
- Measurement values are parsed
- Data is periodically sent via MQTT
No complicated filtering or calibration.
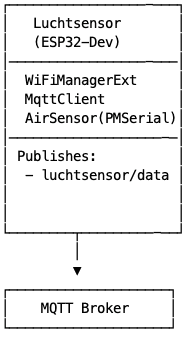
MQTT: sharing data with the outside world
In this project I use an MQTT broker to publish the measurement data. That makes it:
- Lightweight
- Reliable
- Easy to integrate
Home Assistant or Grafana can pick up the values effortlessly, allowing you to:
- Get graphs
- View history
- Make automations
The code is on GitHub and is easy to adapt to your own setup.

What I noticed during the measurements
A few observations:
- Cooking without extraction hood gives immediate spikes
- Ventilating works faster than expected
- Indoor air can sometimes be worse than outdoors
- The sensor reacts surprisingly quickly
This makes the project not only technically fun but also practically educational.
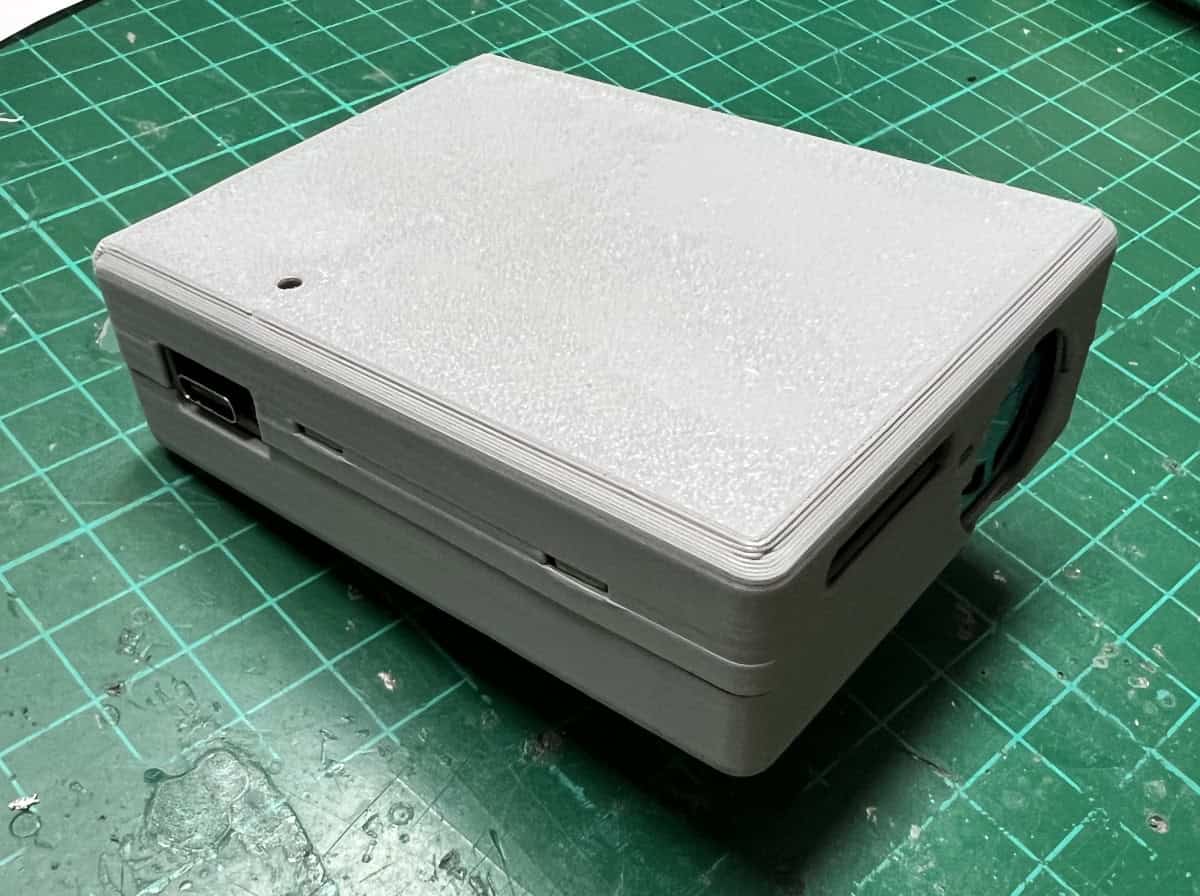
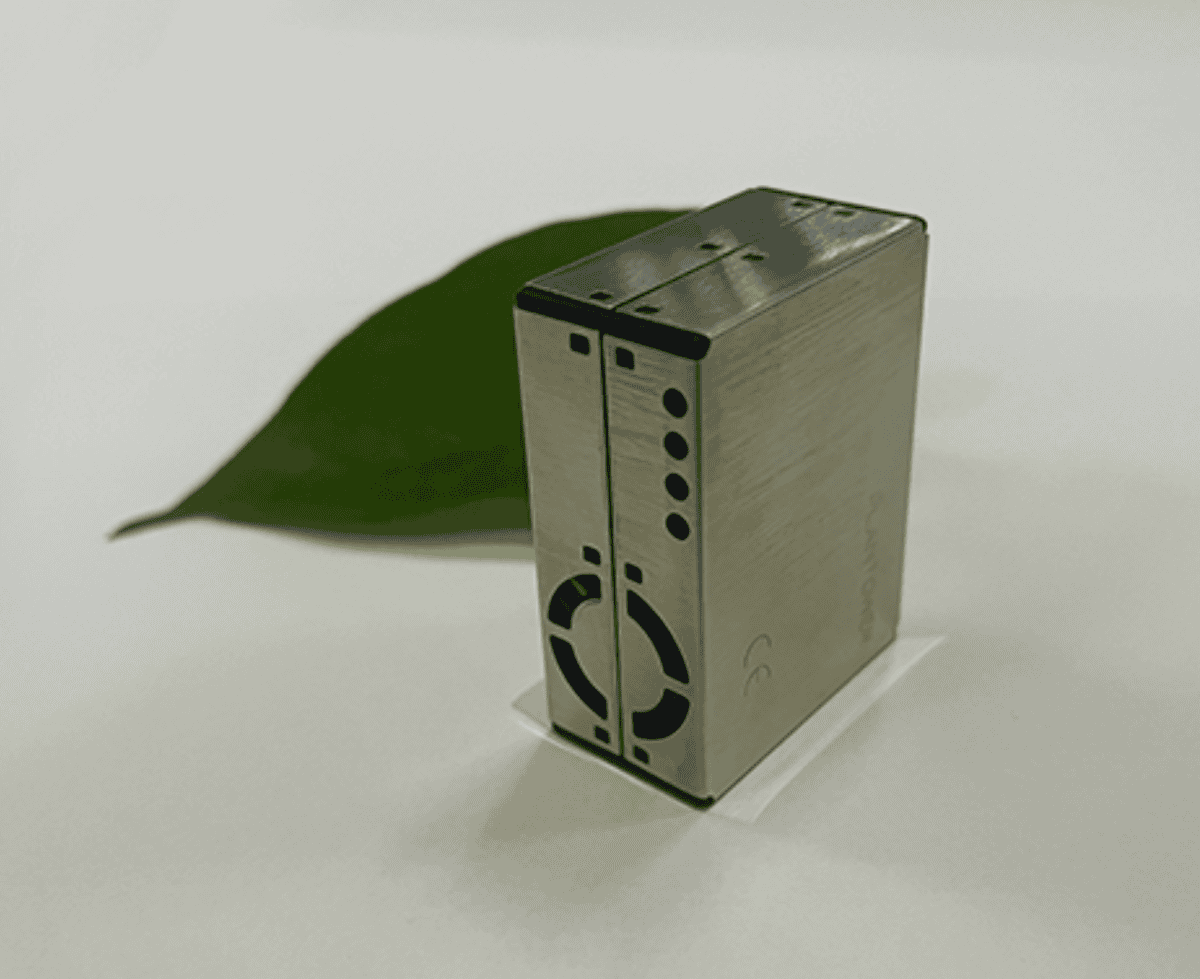
Follow-up: portable and standalone
This project is deliberately a first step. A next project:
- E-paper display
- Battery power
- Standalone operation
- Possibly deep sleep
That would make it a portable air quality meter, without dependency on Wi-Fi or Home Assistant.
In conclusion
This project nicely shows that:
- Simple hardware does not equal simple insights
- One diode can make the difference between “not working” and “working perfectly”
- Measuring leads to better understanding
And that’s exactly why this is such a fun maker project.
If you have questions or want to leave a reply please add them here.
 Follow