From Curiosity to a Complete Musical Instrument
449 keer bekeken / views
Sometimes the best projects begin with a simple annoyance.
For me, it was connecting yet another TFT display to an ESP32. Every new project started with a handful of jumper wires before I could even write the first line of code. There had to be a better way.
That search led me first to the Cheap Yellow Display (CYD). What immediately appealed to me was its simplicity. The ESP32, display, microSD card slot, and I²C connector were already integrated on a single board, eliminating almost all of the wiring normally required for display-based projects.
The only thing I really missed was a practical user interface. The CYD offers little more than a touchscreen, whereas many embedded applications benefit from physical controls such as a rotary encoder and push buttons.
Not long afterwards I discovered the TFT-LCD-Display-EC11 module. It offered exactly the user interface I had been looking for: a colour display, a rotary encoder with an integrated push button, and a second dedicated push button.
Unfortunately, the EC11 module brought me back to the very problem the CYD had solved. Although it provided the ideal user interface, it still required an external ESP32 board and a large number of interconnecting wires for power, SPI, and the encoder signals.
That was the moment the idea for the PiggyBack board was born.
Instead of wiring an ESP32 development board to the EC11 module with a bundle of jumper wires, I designed a board that plugs directly onto the back of the display module. It integrates an ESP32-S3, a microSD card slot, an I²C connector, and ten additional GPIO pins, transforming the EC11 module into a compact, self-contained embedded development platform.
After completing the PiggyBack board, I wanted to create a series of practical projects that would demonstrate its capabilities. The first was the Universal Timer Project, which is also available here on my website.
But for many years I had been fascinated by drum machines.
Over the years I recreated several designs published by other makers, including Peter Balch’s drum machine. They were enjoyable to build and taught me a great deal, but they also left me with a growing curiosity. I could build someone else’s design, yet I still did not fully understand how a modern groovebox was architected, or what it would take to design one entirely from scratch.
That curiosity gradually became impossible to ignore.
One day I found myself looking at the TFT Display with the PiggyBack board and asking a simple question:
What if this little ESP32S3 board could become a complete standalone musical instrument?
That single question became the starting point for The Groovebox Project.
This is much more than a DIY electronics project. It is a deep dive into the engineering behind a modern embedded musical instrument. The project covers digital audio generation, sample playback, sequencing, real-time scheduling with FreeRTOS, persistent storage, hardware design, software architecture, user-interface design, and much more.
Throughout the development I worked extensively together with Artificial Intelligence. Not as a replacement for engineering, but as a technical sparring partner. AI helped me explore unfamiliar subjects, discuss architectural choices, analyse design trade-offs, and refine both the firmware and the documentation. Every important decision was still made, implemented, tested and validated by me, but AI proved to be an extraordinary companion throughout the journey.
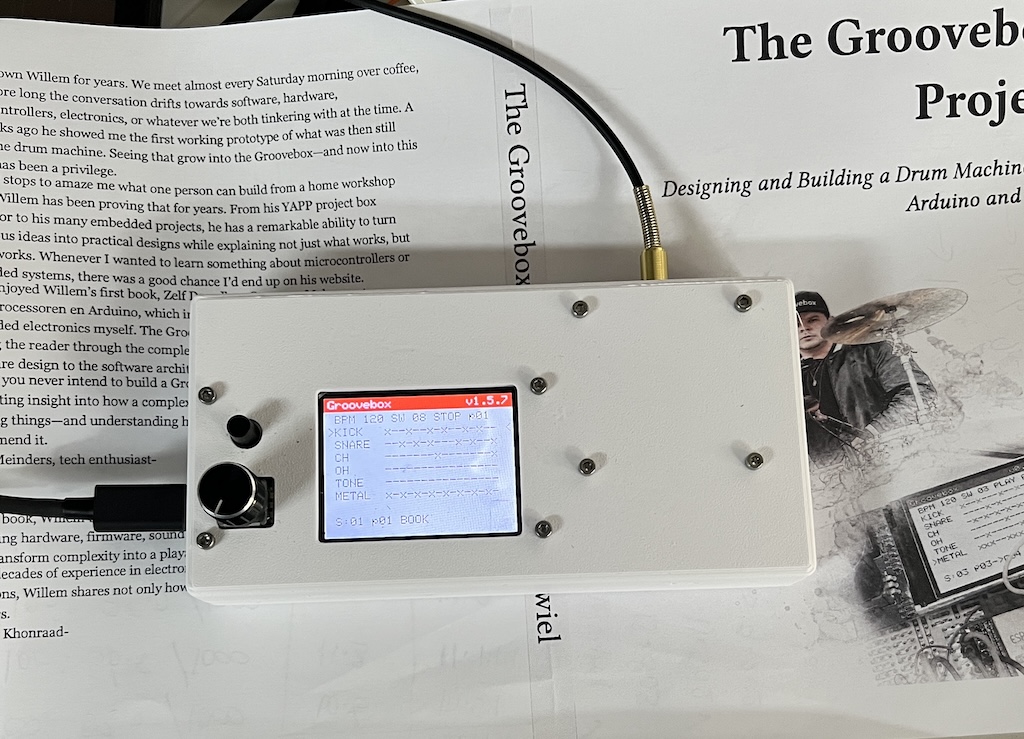
The firmware itself has grown into a substantial embedded application consisting of tens of thousands of lines of code. It demonstrates how a relatively inexpensive ESP32S3 can perform real-time audio mixing, sequencing, sample management, display handling, file storage, and multitasking simultaneously.
If you’re only interested in building the hardware, you’ll find everything you need on this website.
But if you would like to understand why the system was designed the way it is, how the firmware works internally, why certain architectural choices were made, how the real-time audio engine operates, and what lessons were learned during development, then The Groovebox Project book is written for you.
Rather than simply presenting the finished result, the book takes you through the complete engineering journey—from the very first idea to a fully functioning musical instrument. It explains not only what was built, but also why it was built that way.
Whether you’re interested in ESP32 development, embedded systems, FreeRTOS, digital audio, firmware architecture, or simply enjoy seeing how ambitious projects come to life, I hope the book will both inform and inspire you.

Happy reading… and perhaps, happy building.
 Follow
Hoi Willem,
Knappe technische prestatie, een ESP32-S3 die real-time audio, sequencing en display tegelijk aanstuurt is niet niks. Mooi om te zien hoe je van een simpele (?) irritatie met jumper wires tot een compleet eigen instrument bent gekomen. Petje af voor het volbrengen en documenteren van zo’n omvangrijk project.
Toine,
Bedankt voor het mooie comment!