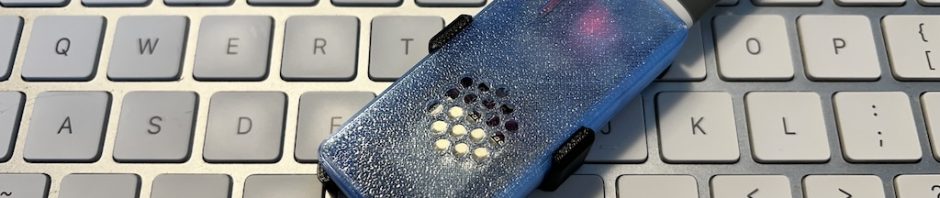
[ 81 keer bekeken / views ]
Towards the end of my holiday, an idea began to take shape. Could I use an ESP32-S3 to build a KIM-1 emulator that came closer to my very first computer?
Here you find a Dutch version of this post.
If you have been following my website for a while, you may remember my posts about the KIM-Uno and the microKIM. I have tinkered quite a bit with both. On the KIM-Uno, most of that work involved the firmware, including the code driving the seven-segment displays. For the microKIM, I built a memory expansion and a digital replacement for the cassette recorder, among other things. With a modern ESP32-S3, I thought it would be fun to see just how closely I could recreate the behaviour of the original KIM-1.
But if I was going to work with an ESP32-S3 anyway, could I also run CP/M on it? And what about an Apple II? Before I knew it, I was thinking about how to boot several different retro computers from a single board.
While I was still on holiday, I ordered a LOLIN S3 Pro with a microSD card slot. When I got home, the board was already waiting in the letterbox. I could get started straight away.
What Is the ESP32-S3 Retro?
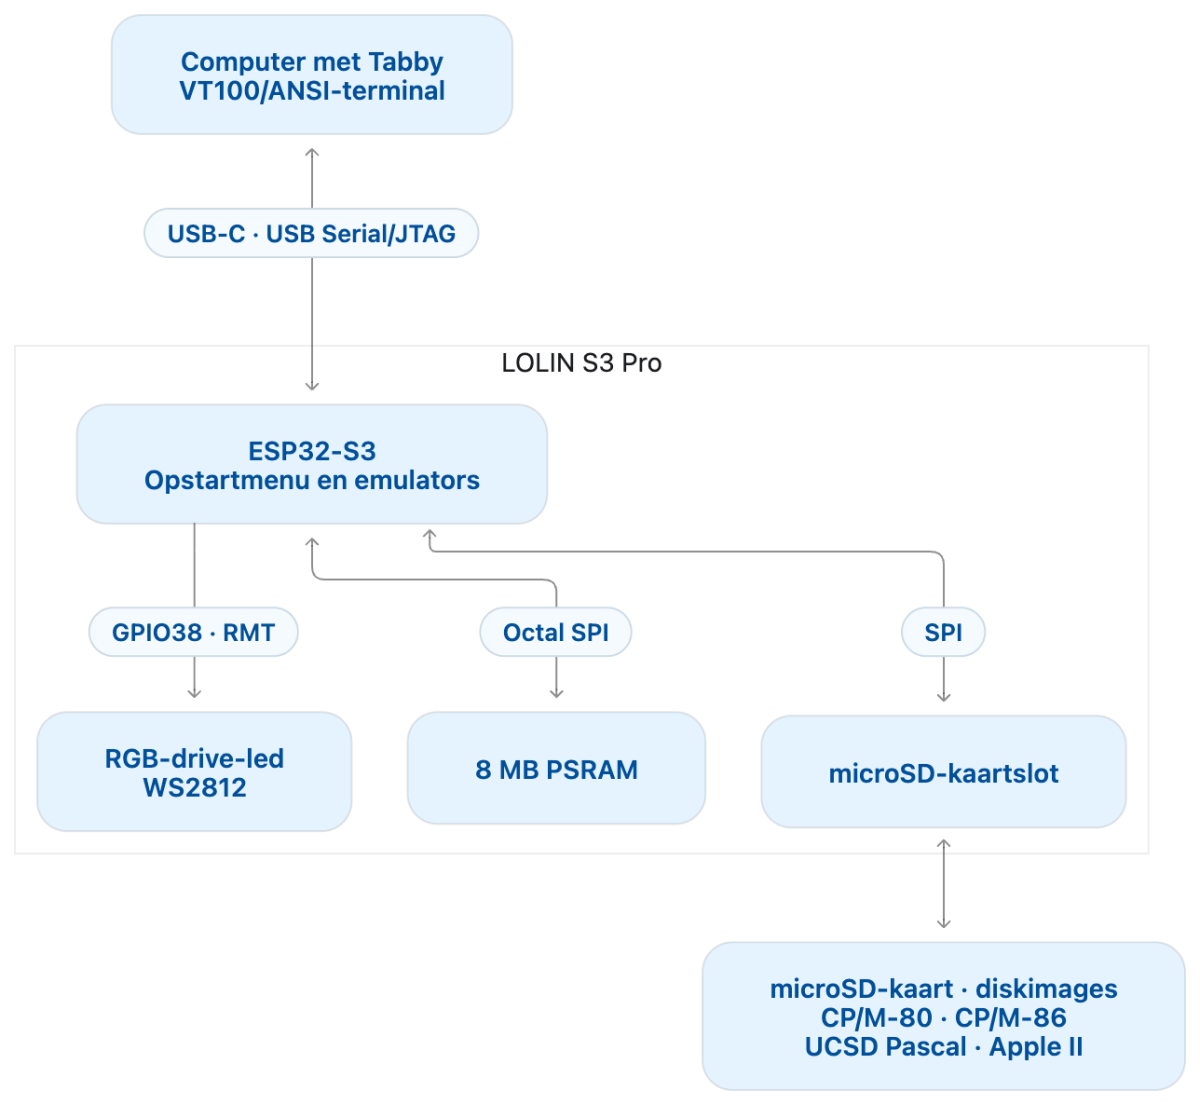
The ESP32-S3 Retro computer is a device that emulates several CPUs, operating systems, memory and floppy disk drives. Many other emulators have a VGA output for connecting a vintage monitor, although they then use a “modern” PS/2 keyboard. I do not own a VGA monitor, and while I want to relive the look and feel of those retro computers, I have no desire to make room for a large, primitive display. This retro computer is optimised for output to a VT100/ANSI terminal. To use it, you need software on your computer that emulates such a terminal. Good candidates include minicom and Tabby, which are available for Windows, Linux and macOS. There are undoubtedly plenty of other options too.
Once you connect to the ESP32-S3 Retro computer over a serial port, a menu appears with the following choices:
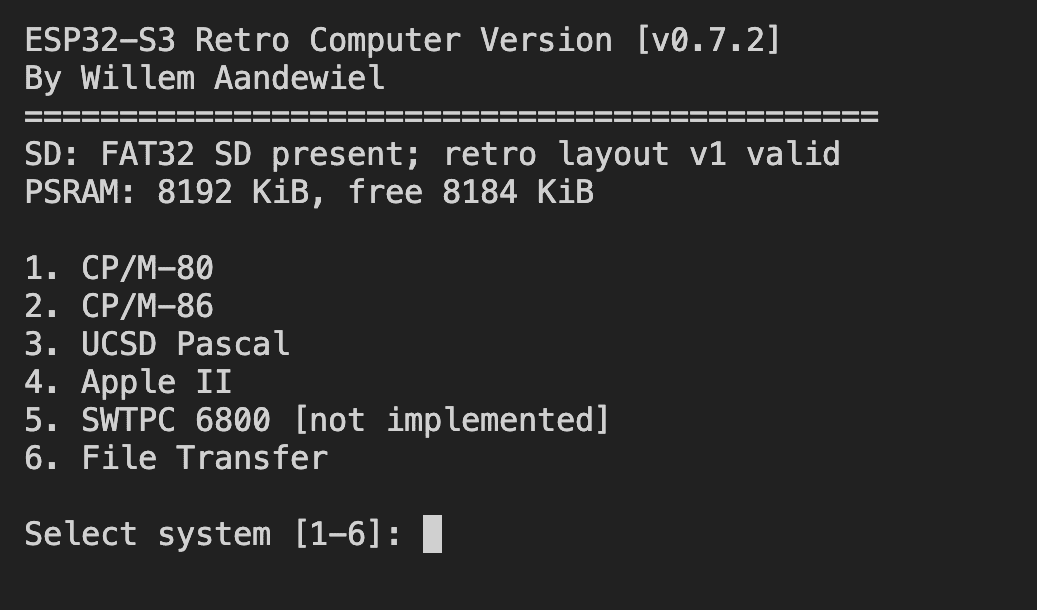
Options 1 to 5 are self-explanatory: each starts an emulator. Option 6 is a special case, which I will describe later in this post.
The KIM-1 emulator did not make the cut. Driving the hexadecimal keypad and seven-segment displays is an essential part of that single-board computer. In the end, I wanted to build a retro computer without having to solder any wires. Just lean and clean. The KIM-1 did not fit that brief.
The Hardware
The hardware consists of the LOLIN S3 Pro, a microSD card, the USB connection and an enclosure. I chose this board because its microSD card slot sits within the outline of the PCB.
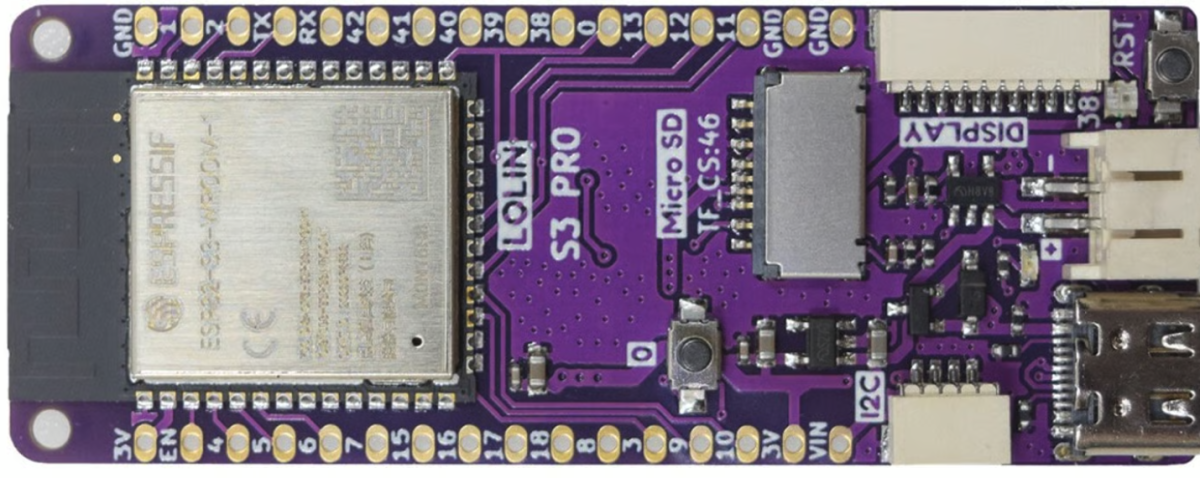
I expect the microSD card—a 16 GB or 32 GB card is recommended—to provide so much space that it will hardly ever need to be removed. This arrangement means the enclosure does not need an opening for the microSD card. Cards often protrude quite a long way, making the whole assembly unnecessarily vulnerable to damage.
The Retro Computers and Their Software
General Setup
Create a directory called retro in the root of the microSD card. This directory will contain layout.txt and two subdirectories: images and backups. Create the five subdirectories shown below inside each of them.
Note: all names must be lowercase.
     /retro/
       layout.txt
       images/
         cpm80/
         cpm86/
         ucsd/
         apple2/
         swtpc/
       backups/
         cpm80/
         cpm86/
         ucsd/
         apple2/
         swtpc/
The file /retro/layout.txt must contain exactly these two lines:
ESP32-S3-RETRO
layout=1
I have written a few programs that perform the same function on each emulator. The two most important are SYSVIEW and BENCHxyz. The first displays information about that particular emulator implementation.
BENCHxyz gives an indication of the emulator’s speed compared with the operating system running on the original hardware.
- The
INTEGERtest makes the processor perform a large number of integer calculations. It measures how quickly the emulator handles that workload. - The
SIEVEtest finds prime numbers using the Sieve of Eratosthenes. The program crosses out multiples in a table, primarily testing how quickly the emulator executes loops and reads and updates values in memory.
CP/M-80 (2.2)
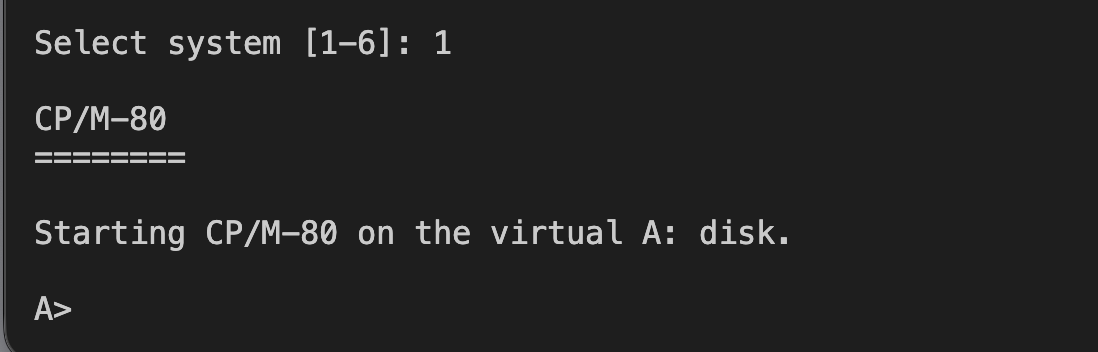
Option 1 in the system menu starts the CP/M-80 emulator.
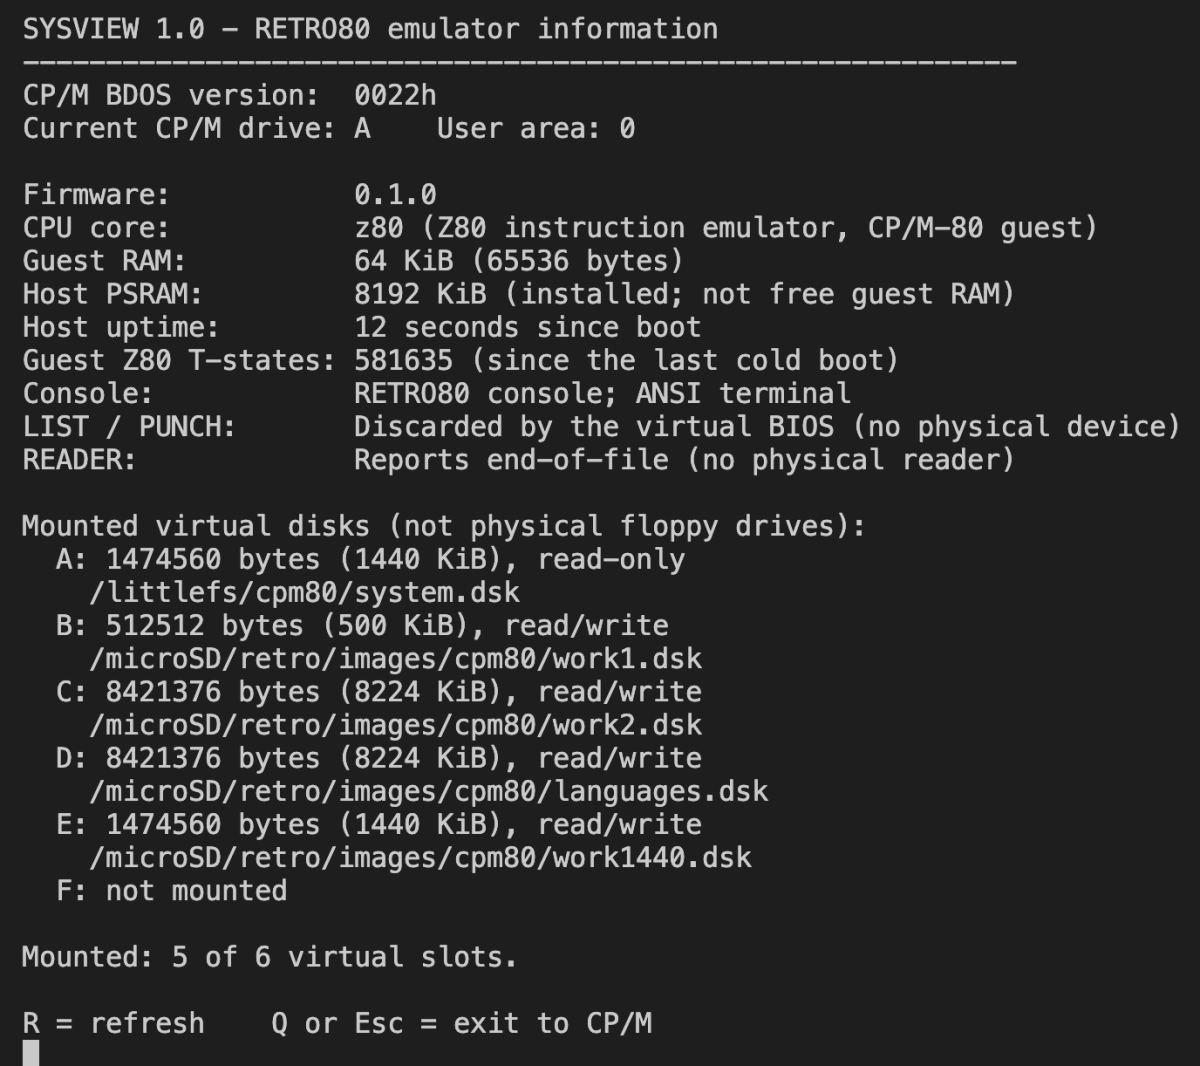
The SYSVIEW program displays this information:
CP/M-86
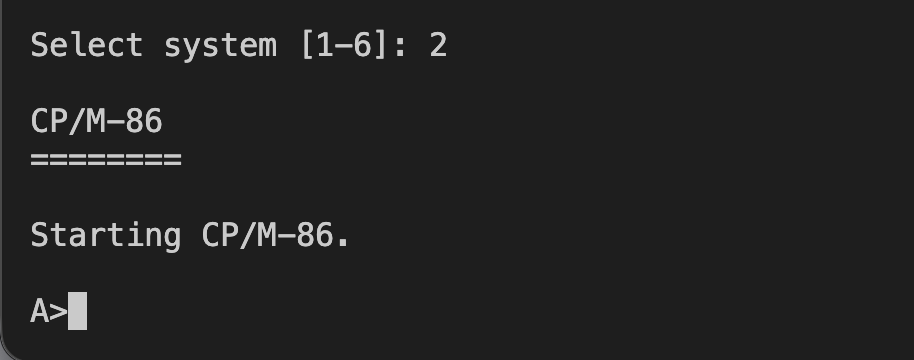
Option 2 in the system menu starts the CP/M-86 emulator.
The BENCH86 program produces these results:
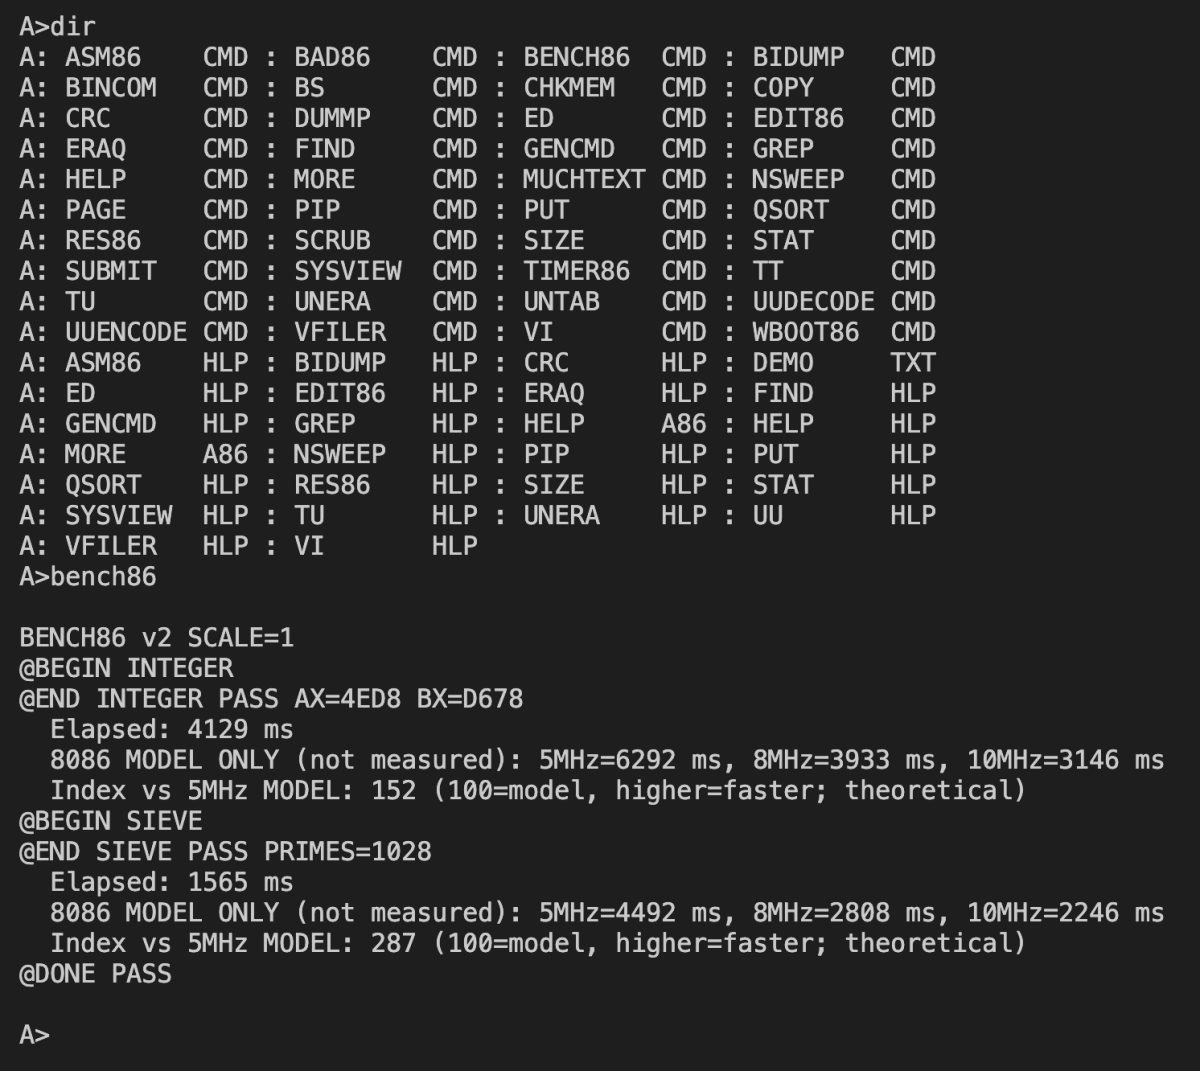
According to this benchmark, the CP/M-86 emulator runs the INTEGER test at roughly the same speed as a CP/M computer clocked at 7.5 MHz. In the SIEVE test, it performs about as fast as a CP/M computer running at 14 MHz.
UCSD (Apple) Pascal
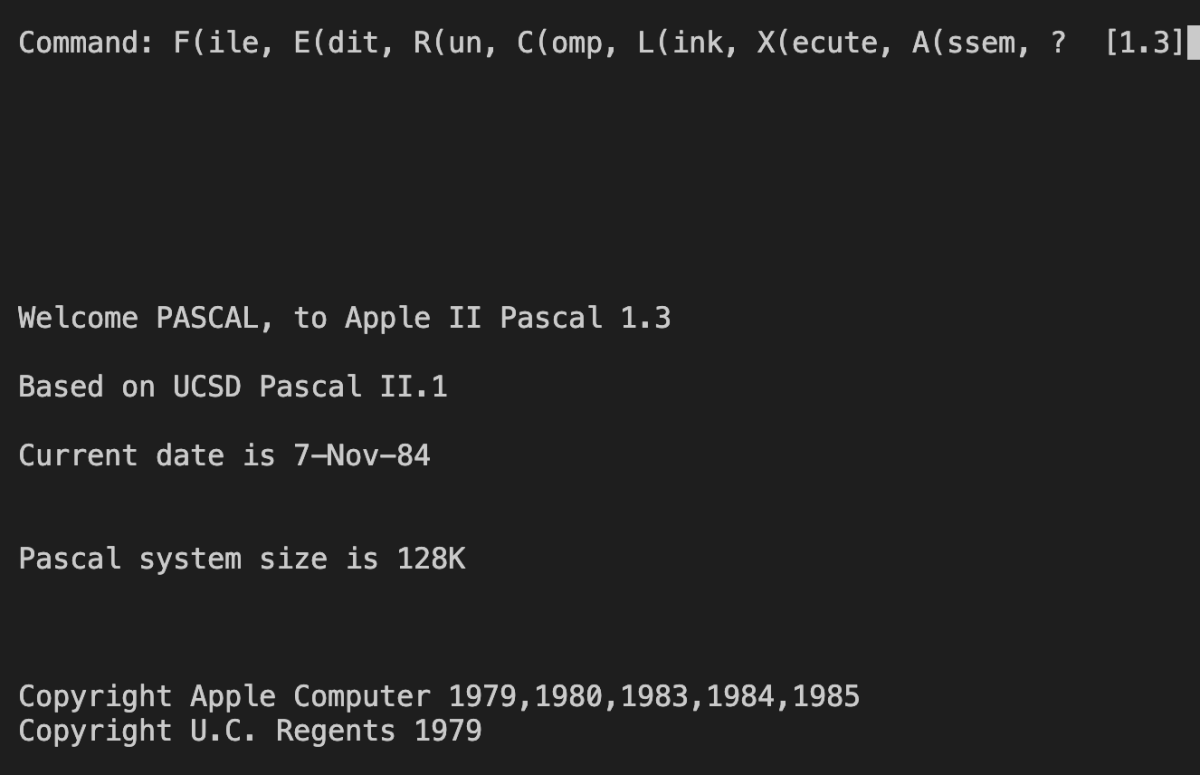
Option 3 in the system menu starts the UCSD (Apple) Pascal emulator.
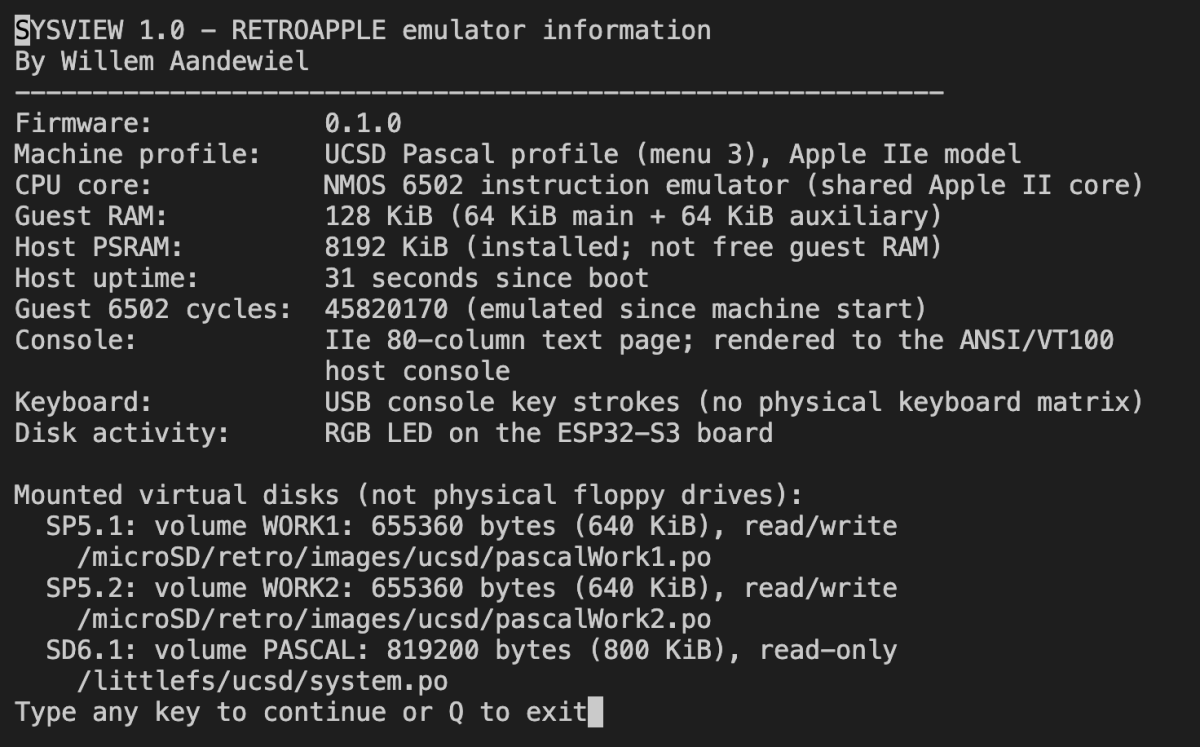
SYSVIEW displays the following information:
Apple IIe
Option 4 in the system menu starts the Apple IIe emulator.
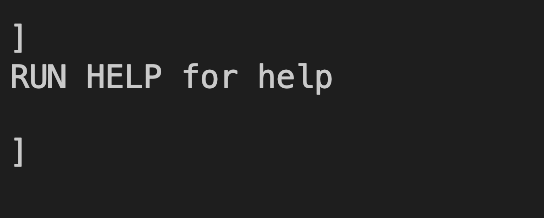
The BENCH2ASM program is a binary executable; a BENCH2BAS version is also included. Start it with the command:
BRUN BENCH2ASMIt displays the following measurements:
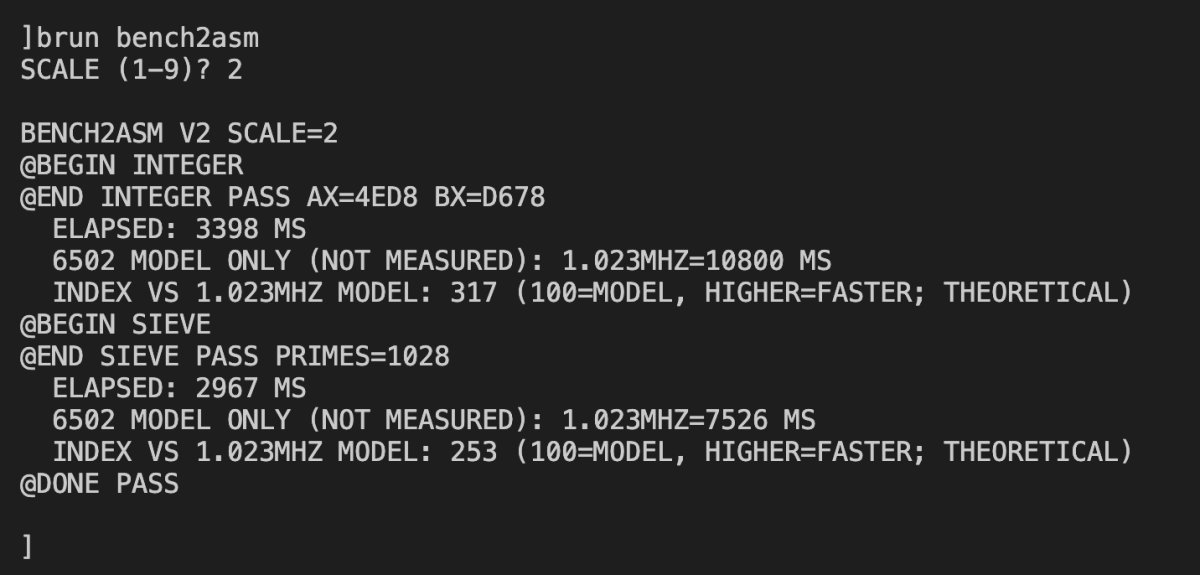
These results show that the 6502 emulator runs the INTEGER test at an effective clock speed of about 3 MHz and the SIEVE test at about 2.5 MHz. On average, the emulator achieves an effective clock speed of 2.9 MHz.
SWTPC 6800
This emulator has not yet been implemented.
How the Firmware Works
The ESP32-S3 runs a single firmware image with a shared boot menu and three emulator cores. The menu provides four working environments, because Apple II and UCSD Pascal share the same 6502 core.
| Menu option | What the firmware starts |
|---|---|
| CP/M-80 | A Z80 emulator running CP/M 2.2 |
| CP/M-86 | An 8086 emulator running CP/M-86 |
| Apple II | The Apple II emulator with its own disk configuration |
| UCSD Pascal | The same Apple II emulator, but with a disk configuration that boots Apple Pascal |
At power-on or reset, the firmware initialises the USB console and the drive LED. It mounts the storage and checks that the required system files are present. The menu then appears in the VT100/ANSI terminal. When you select an environment, the firmware initialises that emulator and hands control over to it.
The emulator core simulates a Z80, 8086 or 6502 and executes that processor’s machine instructions. The ESP32-S3 firmware connects the emulated computer to the physical hardware, such as the USB port and microSD card. Text input and output therefore use the same USB console, while disk image files serve as virtual disks. Inside the emulator, you use disks just as you normally would in CP/M or on an Apple II. CP/M, for example, uses A:. Whenever the emulated system reads or writes data, the firmware performs that operation in the disk image assigned to the relevant drive.
System/Boot Disk
Each emulator has its own boot disk, stored as a disk image on LittleFS in the ESP32-S3’s internal flash memory. LittleFS also holds the default disk configuration, including references to the other virtual drives. This ensures that the emulator always boots from its own boot disk, even when no microSD card is inserted or no additional disks have been assigned through drives.cfg. Use drives.cfg to specify which additional disk images are available after the system has booted.
Retro Disk Manager
File Transfer is a separate menu option. It starts the web server hosting the Disk Image Manager.
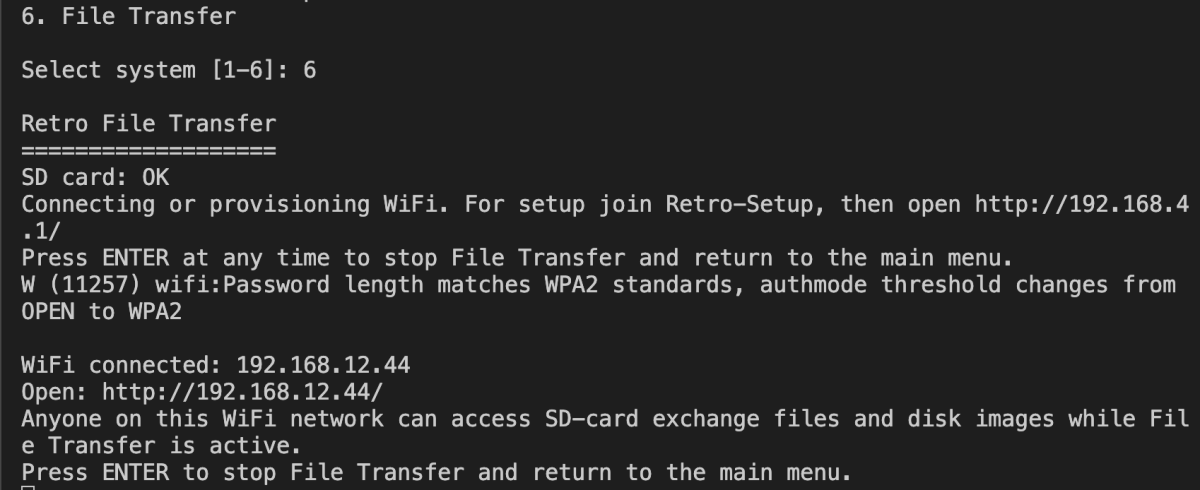
Open the displayed IP address in your browser—in this case, 192.168.12.44. You can now use your browser to transfer complete disk images or, for supported formats, manage files within a disk image. Disk images can be stored either on LittleFS, for system and boot disks, or on the microSD card.
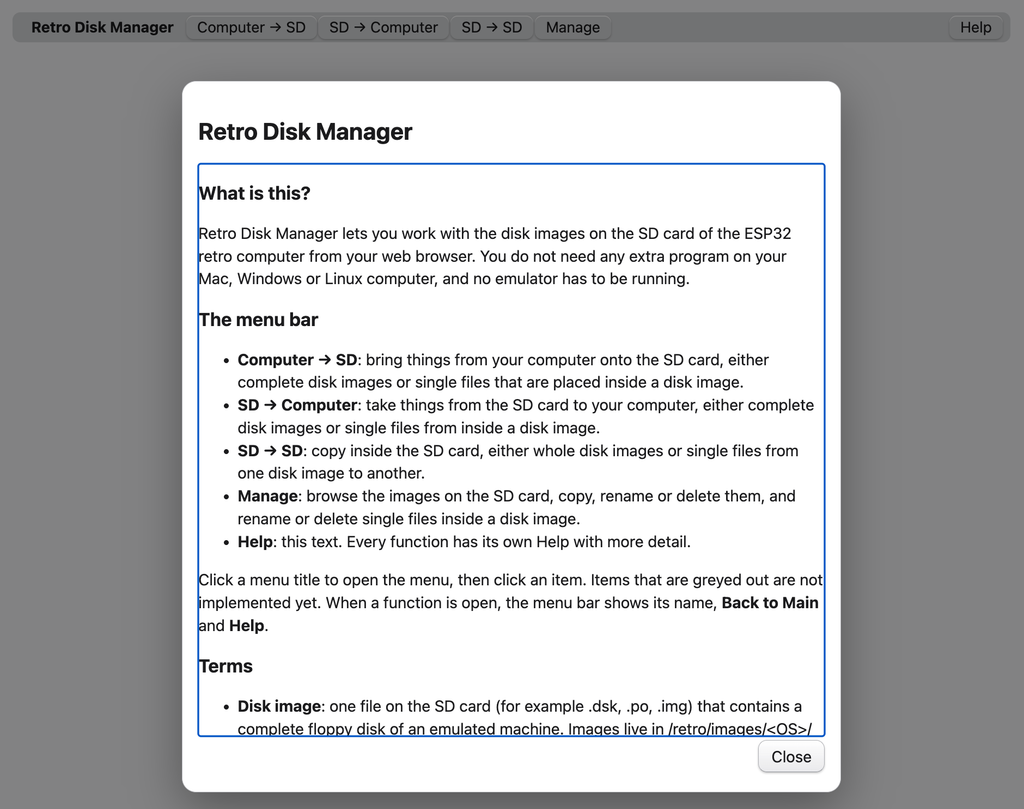
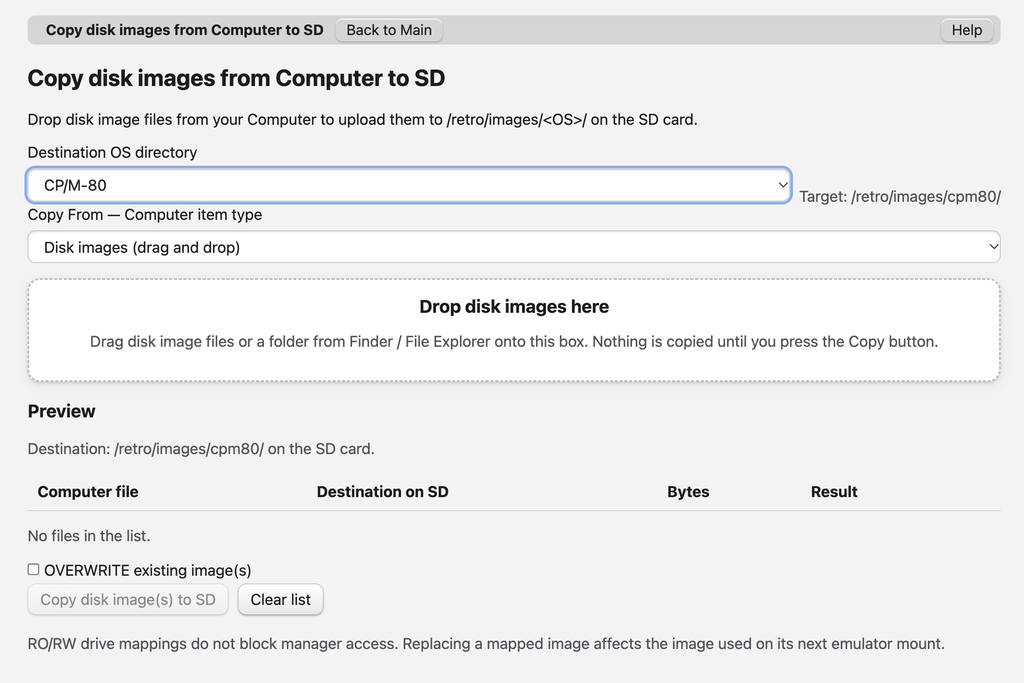
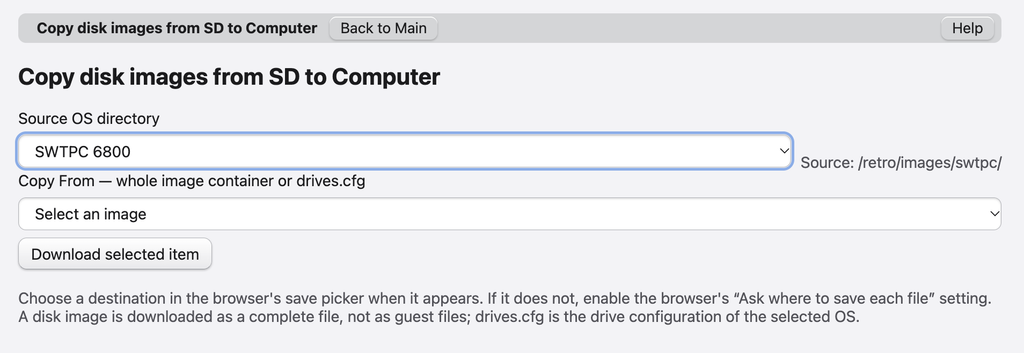
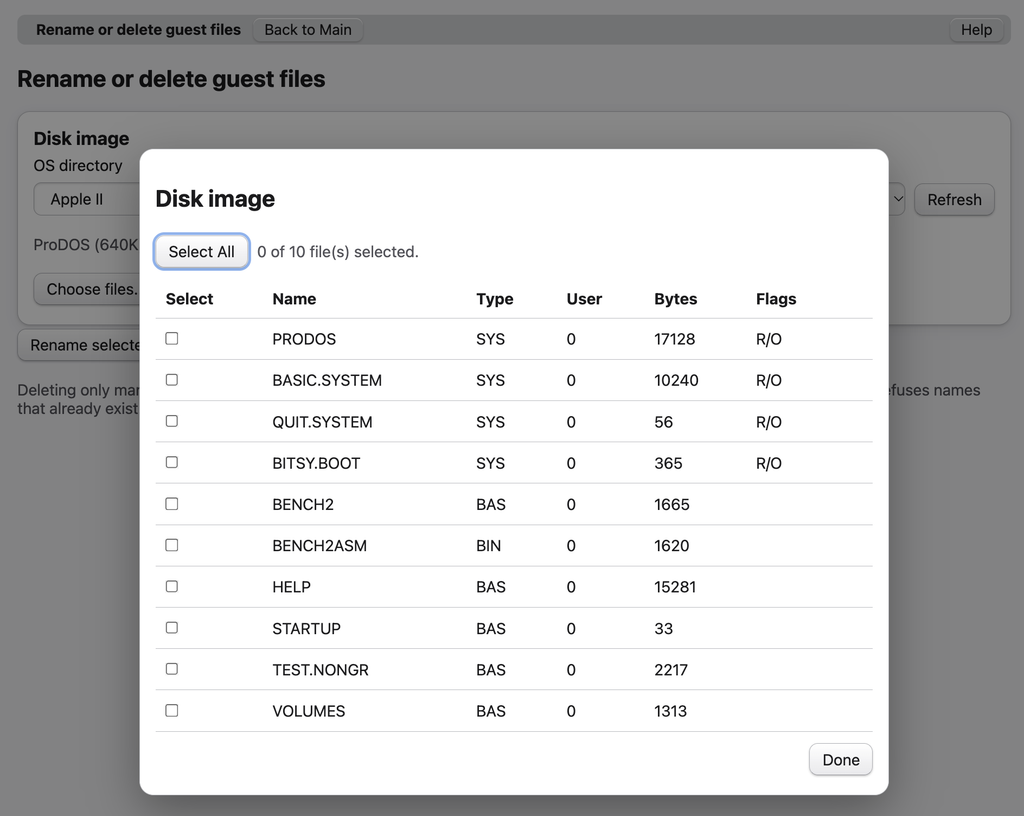
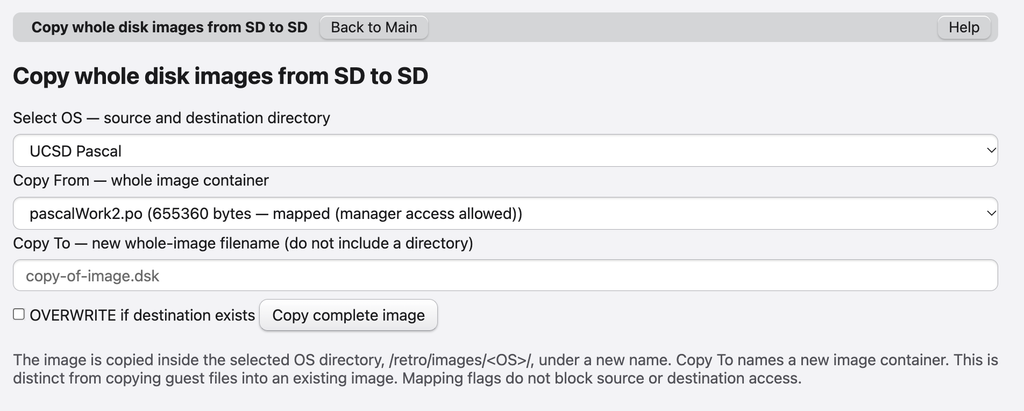
I have included plenty of software for the various operating systems in the repository. If the software you want is not there, you can find almost anything on archive websites. Often it is available as part of a disk image rather than as a standalone program. The Retro Disk Manager can read most disk image formats, making it easy to extract the software you need and save it to a working disk image in your own setup.
Getting Started
You can find the hardware requirements, firmware, documentation and instructions for getting the project running for the first time in the GitHub repository. There is a lot of documentation in the repository, because this is a complex project.
I used a LOLIN Wemos S3, but any ESP32-S3 board with enough RAM and PSRAM should be suitable. If you want to avoid wiring things up, you will need a board with a built-in microSD card slot. The RGB LED is a nice extra, but it is optional.
You can flash your ESP32-S3 board without VS Code or ESP-IDF using my web flasher. This does not include all the extra software I have collected, but you can download that yourself as described above.
 Follow
